Are your RAW Files Safe?

Can you tell me exactly where all your RAW files are, right now,  and can you access every one of them without having to think about it or ask a search engine how? If the answer is no, then we need to add some skills to your toolbox to make sure they are safe and useable.

Storing your files is just one of the burdens digital has put on photographers, and one that will cause us problems if we don’t actively manage it.

In the film era, we could just put our processed negatives or slides in a box and they were easy to find and sort because it was a tactile, analog process. It was so easy! It didn’t require computer knowledge and it worked pretty well for most people. 

Digital changed that. Now our files are stored somewhere on our SSD or hard drives. Do you know where? Is the computer between you and your photos?

If your workflow was set up with you deciding where your RAWs are imported, then you are already on the right path. You challenges are making sure they keep importing to the right folder or directory, and that the drive they are on is being backed up with the 3-2-1 strategy

And if you aren’t backing up to the cloud, you should add it immediately as your offsite/alternate media. I recommend Backblaze for cloud backup based on years of following them, and as a user of their service. For a flat rate, you can do unlimited backup, even of external drives. (Disclaimer, I am an affiliate and may receive payment if you use the link.)

But if you haven’t made a conscious decision about where your photos are stored, and are relying on an app to do it for you, then it’s time to take more control. 

Your photo app might be part of the problem. If you are using an app like Apple Photos, it might be handling all the importing and storage for you. In that case, I bet you don’t know where your files are because you are just letting the app handle it. Sooner or later that will workflow will break, so it’s part of your workflow you should consider improving immediately before it breaks. 

First of all, Apple Photos imports your files onto your boot drive, which will eventually fill up and force you to take action to free up storage space. But  also makes your files hard to get to, which crops up on my workshops when I ask students to send in RAW files. Apple Photos hides the files inside your “Photo Library” and limits your access to them through the app which causes issues when you want to extract a RAW file to use in a different processing software. 

The approach Apple Photos uses is a good choice for the home user capturing family memories, but if you are embracing the RAW workflow, it’s going to limit you. And it will make a lot more work for you when you want to get at the RAW files. You need to learn how to access those files (heres a article to get you started on that https://www.macintoshhowto.com/software/how-to-access-your-iphoto-library-without-iphoto.html) But once you know where your RAWs are and how to access them, I think you’ll find it much easier if you upgrade to a package like Lightroom to import and manage your files. It will let you decide where photos are imported to, will give you easier access to your RAWs, and more powerful editing tools.

Knowing where your RAWs are, and that they are backed up is a foundational level skill for a digital photographer. If you don’t have it, you risk losing the photos you worked so hard to make. Don’t leave it to chance. Upgrade your knowledge and skill so you can preserve and access your photos for years to come.
March B&W Workshop with Looking Glass Photo

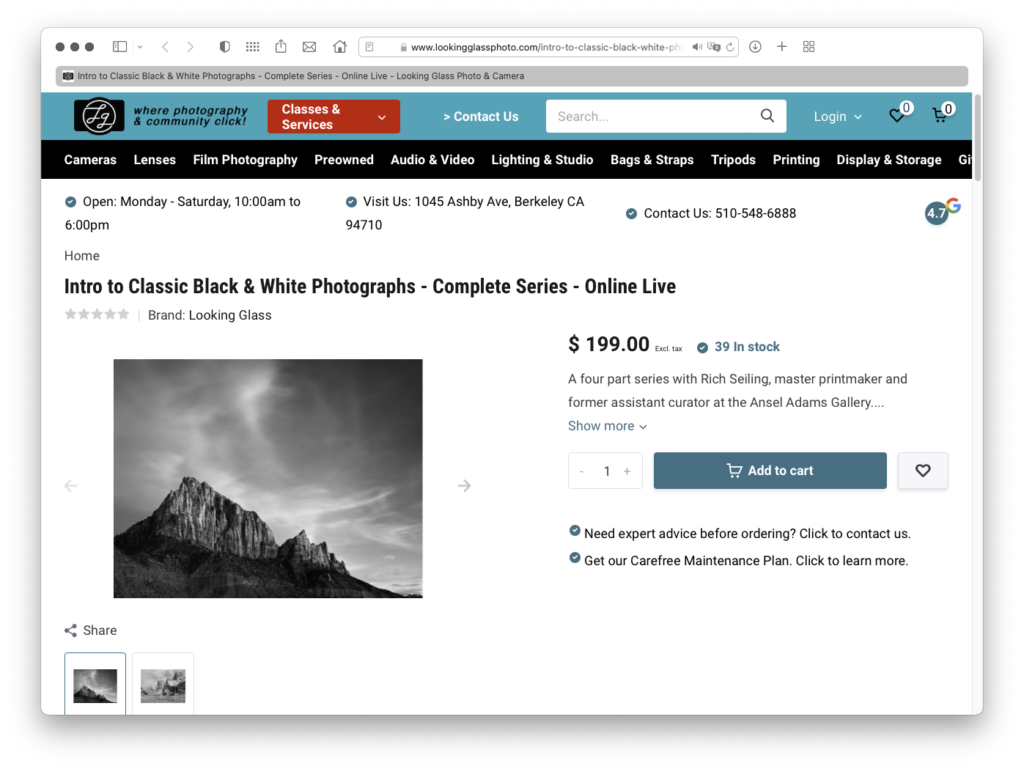
My next Black and White Processing class will be hosted by the fine folks at Looking Glass Photo starting March 21. The owners, Jon and Jen, have built an incredible photo community in Berkeley, and are one of the great local camera stores that we need to keep supporting for the value they bring us. Really looking forward to working with them and their customers again. Sign up today if you want to join us! This will be my last B&W workshop for several months as I have a few other classes in the works to announce soon. https://www.lookingglassphoto.com/intro-to-classic-black-white-photographs-complete.html

Color Processing Workshop Starts February 8

https://www.eventbrite.com/e/color-processing-fundamentals-tickets-258117716037

Want to learn the secrets that will make color processing easier? Join me for this four week zoom class and I’ll share the techniques and though process I developed for West Coast Imaging to make museum quality prints.

It’s easier than you think, and this is not a “experts only” class. It’s the foundation and fundamentals every photographer needs to know for processing, and it’s like no other class I know. Sign up today and get ready to take your photographs to new heights!

The Only Person Photographing In Yosemite

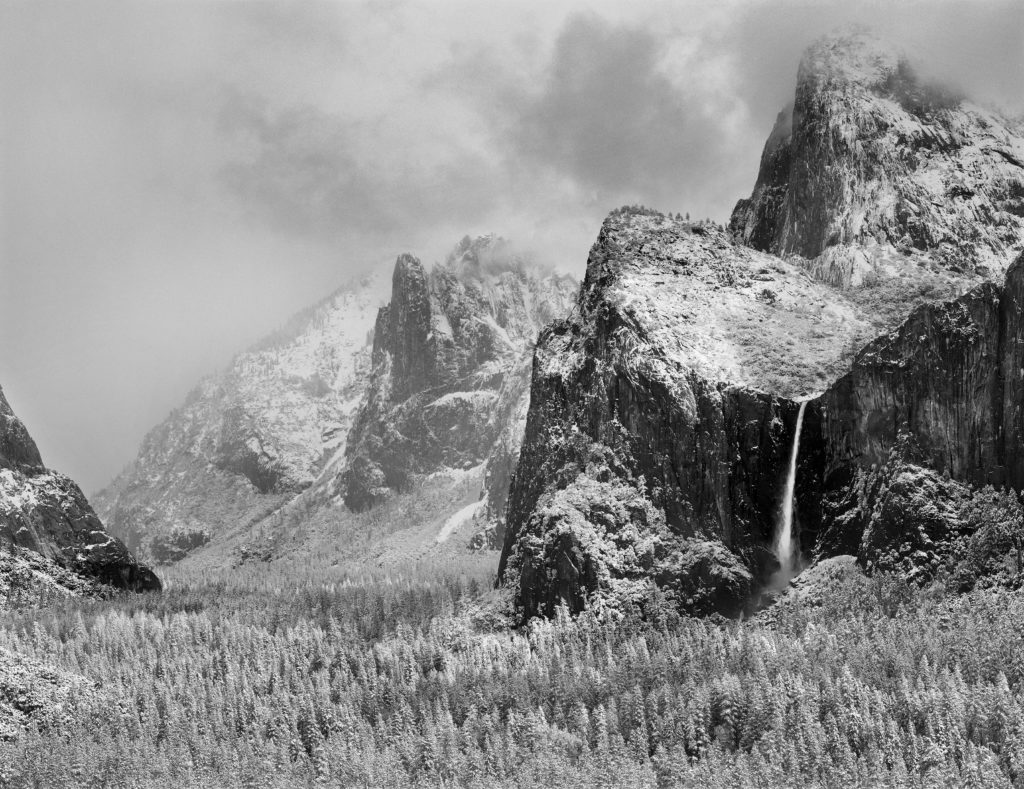
Imagine being the only person out photographing in Yosemite. That is the rare birthday gift I received twenty-five years ago today.

The flood of 1997 closed Yosemite for several months due to the damage. Only a few people were allowed to remain in the valley, and as the photographer documenting the damage for the National Park Service, I was very fortunate to be one of them.

My birthday that year happened to fall on a Sunday, and with no work going on to document, I had the day off. After working a burnout pace for most of January to capture the damage, and living under austere conditions (using a porta-potty in your drive way at 2am and 12 degree temps because the sewer line is broken gets old quick!), I decided to go celebrate my birthday by driving around the valley and making some personal work.

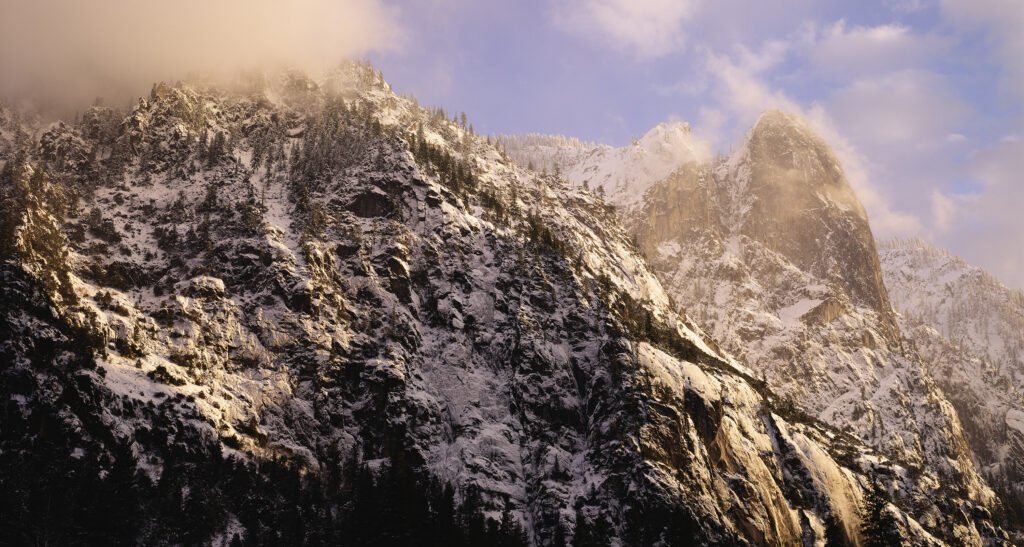
I remember clearly standing on the edge of Stoneman Meadow, looking up at the great granite faces of Half Dome, Royal Arches, and Glacier Point, all covered in layers of ice and snow, the crisp cold air in my nostrils as my booted feet stood on the cold snow below, and having it all to myself for a day.

A fresh snow had fallen, and the cold temperatures were making some beautiful conditions. As I drove around, I saw almost no one, which was typical for a Sunday during the flood closure. With about 250 people in the park, all park employees, everyone was enjoying a much-needed day of rest. And as a result, I had an experience I’ll likely never have again; being the only photographer out in Yosemite.

Of course, there were other photographers living in the valley at that time, but that day I didn’t see them, and hardly anyone else, so I had the illusion of having Yosemite all to myself. I’m not claiming a title but relating an experience. I knew at the time it was an amazing gift, but looking back, I didn’t really realize how rare that chance was.

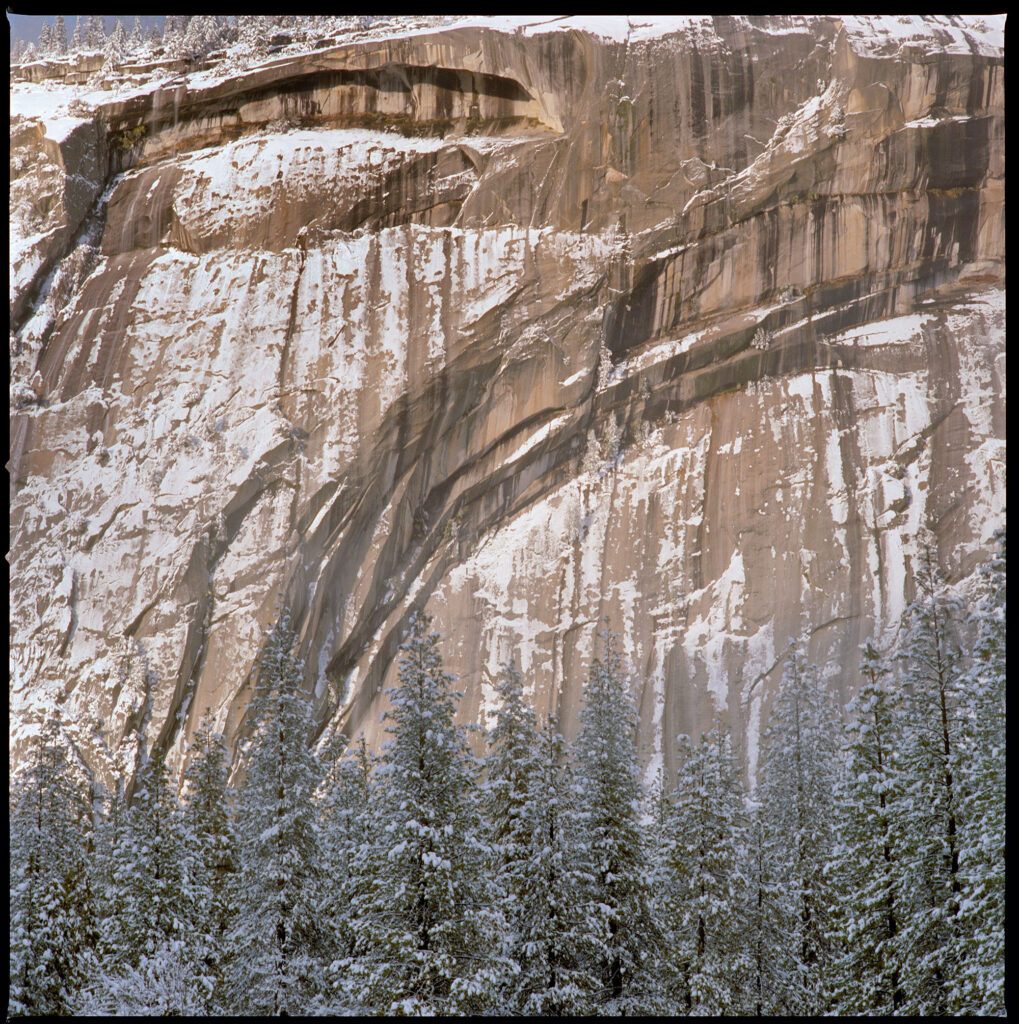
The photos from that day are unremarkable. I decided to work in with color neg film in the Hasselblad Richard Newman had loaned me. I should have worked in B&W instead, but I was young and didn’t have the experience I do now. But I don’t care that I made no meaningful work. I had the chance to experience something even better than a great photograph, and it’s an experience I’ll likely never have again.

Which Brand Hard Drive Should I Buy?

Here’s another question I get a-lot. Some people hear they should buy Seagate drives because the competitors are junk. Others think they should buy Western Digital drives, because, you know, the other companies are junk and their brother’s cousin’s friend had one die on them and lost all their baby pictures, and their other friend works in IT and said so.

So what’s my answer? What should you buy?

Why not BOTH?!

That may seem too easy, but it’s the truth. Now you may be thinking there are more than two drive manufacturers out there, and you are correct. But only Seagate and Western Digital offer consumer-priced external drives.

I don’t see any real benefit to buying external drives in more expensive housings, as the aesthetics of an aluminum enclosure just don’t matter to me, and my experience says I don’t need the extra cooling they offer. Run of the mill external drives will do the job just as well, so for most photographers, Seagate and Western Digital are our two choices.

Drive Failure Rates

Current Seagate and Western Digital drives have similar failure rates based on the data from Backblaze. Most sizes and models of 8TB and larger have annual failure rates of 1% or less. That means if you had one hundred drives, about one of them would fail every year over the normal 4-5 year life of a drive. A difference of a percent or two either way are not going to be meaningful for you. Rough handling, dropping, and transport I suspect will have more effect on that rate than drive manufacturer. So put the brand issue aside. They are both “good enough.”

Most photographers problem isn’t a half percent difference in failure rates, it’s that they aren’t running a proper backup. And some only have one copy of their data. With a proper backup, even a couple percent difference in failure rate isn’t going to be a big issue for you.

Redundancy

In my backup plan, I like to alternate between brands for a little extra insurance. Every once in a while, a brand will have issues with a particular model. Don’t put your eggs all in one basket. It’s a safer approach to have your photos on both brands and on different models of those brands. (Hard drive models change all the time, so unless you bought all your drives at the same time, you’ll have enough redundancy of different models.)

Beware Bare Drives

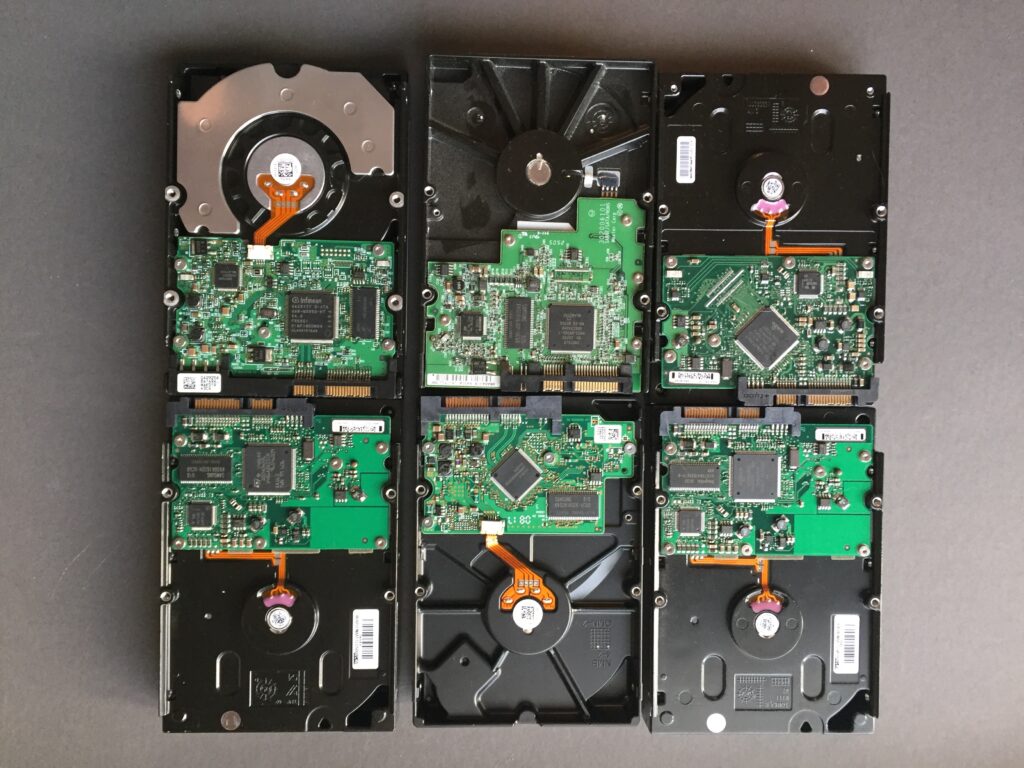
I used to use a lot of bare drives for backup at West Coast Imaging because we had a never ending supply of them from server upgrades. Bare drives are fragile, and need to be stored and handled with care, and I customized a Pelican Case just to transport them safely. You’re not supposed to stack them, and even small shocks can damage them. It’s so much easier to just buy an external drive that is always in a case that offers a little more protection from shocks and other hazards.

RAID

RAID has a place, but few single user/single workstation still photographers need them, and they are a hassle unless you are a “computer person.” With the advent of 10TB drives and larger, the need to use a RAID to create a larger volume from several smaller volumes is gone for most users. 16TB consumer externals are shipping now, and 18-20TB are available in more expensive external lines. Roadmaps say we’ll have 30TB drives sometime in 2024. And RAIDs have their own issues. If you are on one, you should assess if you need to be and look at transitioning.

Closing Thoughts

We’ve reached a point where hard drives are reliable enough that we don’t have to worry about what brand is best. What most photographers need to solve is the issue of creating a good backup plan, with lots of drives, and maintaining that backup. Buying inexpensive external drives is ok. Being cheap and not buying enough of them for backup isn’t.

Buy a New Hard Drive Every Year

The folks at Backblaze have a really good blog post on hard drive life titled “How Long Do Disk Drives Last?” that is worth a read.

I’ll give you the TL;DR, it’s about four to six years according to their data.

Backblaze is the most reliable source for drive life data as they have been releasing drive life stats for their cloud backup system for over a decade, and given us the best real world look at how long drives last.

Their experience mirrors mine, albeit on a much smaller scale. In the West Coast Imaging days, I designed and maintained our storage system of forty drives to store all our client’s files and make them accessible to the staff. I’ve tracked over 100 drives through that system and in my own personal use, and I see something pretty close to what Backblaze is seeing.

While drives can die at any time, even new drives, it’s more typical to see a drive last 3-5 years in a home or office setting. After that, the failure rate starts to go up fast, as I’m experiencing right now with my backup consolidation project.

The Backblaze data combined with my own experience is leading me to a new storage approach. I plan to replace my main data drive after 365 days of use. At that point, it will be depreciated to use for onsite backup.

Basically I’m turning it into an oil change which just makes more sense, and will help me avoid headaches. It will make it easier to keep up to date than the “replace when something fills up or fails” plan I had been using.

My backup plan looks something like this:

Main Data Drive
Onsite Backup A
Onsite Backup B
Offsite Backup A
Offsite Backup B

I have five hard drive based copies of my data plus a copy in the cloud with Backblaze, which is an insurance layer every photographer should have in place.

As drives age, I’ll move them down the list of backups, so that their age will look like this:

Main Data Drive – less than 1 year old
Onsite Backup A – less than 2 years old
Onsite Backup B – less than 3 years old
Offsite Backup A – less than 4 years old
Offsite Backup B – less than 5 years old

And with this many copies and ages, I am well protected agains data loss IF I keep the backups up to date.

So buying a new drive every year will be my new strategy. (And don’t forget to mark your drives with the month and year of purchase to make it easy to know their age.)

Now where is that credit card…

Photoshop Upgrade Issues – Adobe Camera Raw

If you’ve upgraded to Photoshop 2022, make sure Adobe didn’t wack your Adobe Camera Raw preferences or you could be wasting hours of work.

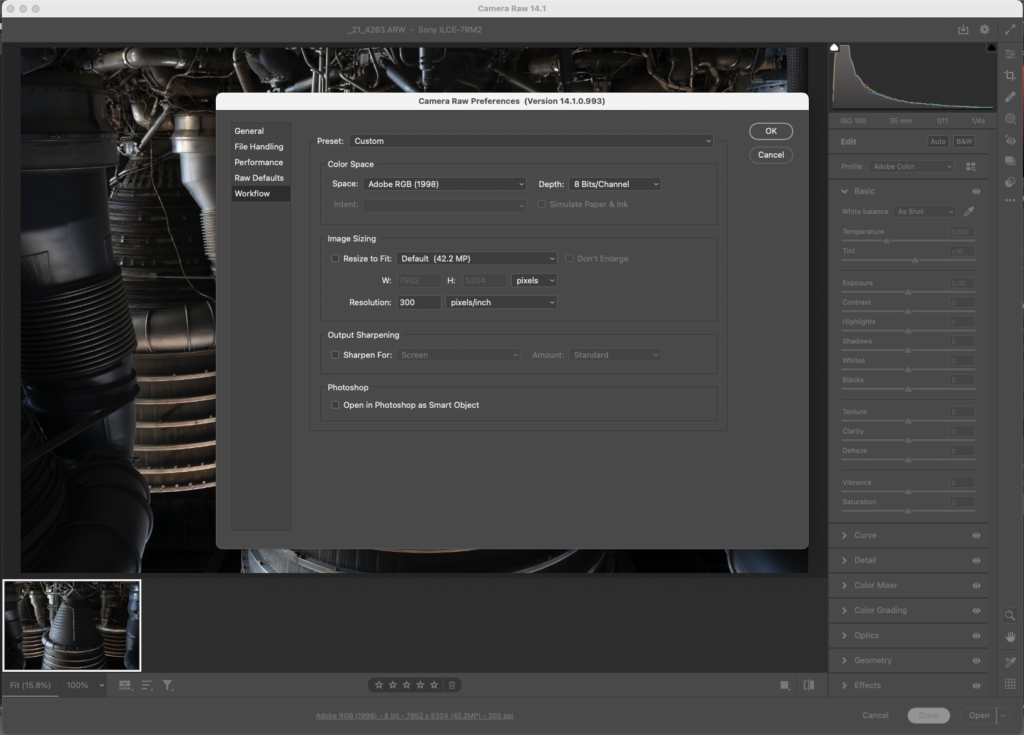
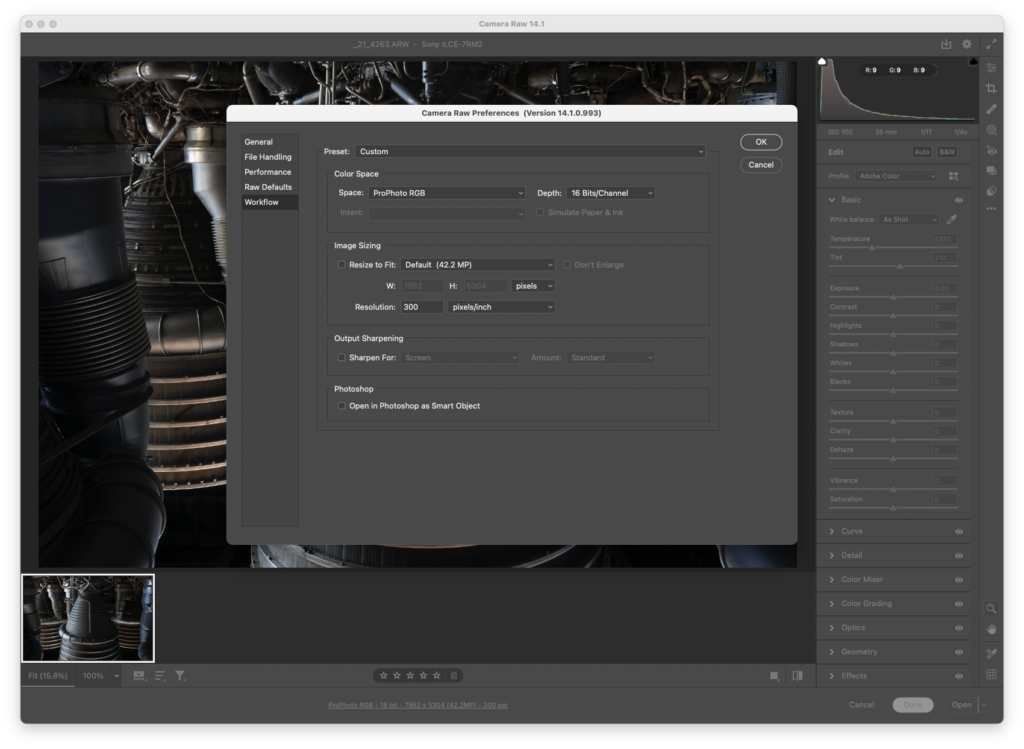
Adobe is allowing a critical problem to occur when you upgrade Photoshop by defaulting the Adobe Camera Raw settings from the user’s custom settings to their default “Adobe RGB” in 8-bit.

This is one of those things that is very easy to overlook and can lead to hours of lost work if not corrected immediately.

Here’s what my recent install of Photoshop 2022 did to my Adobe Camera RAW settings:

Yuck! Adobe RGB in 8-bit is the last settings I’d want to use. What it should have done is import my settings from Photoshop 2021 to what’s shown below:

ProPhoto and 16bits/channel is my recommended setting to get the most out of your RAW files. It’s the default for experienced users, and should be Adobe’s default too.

AdobeRGB was a bad choice in 1998 and it is a bad choice now. In the embryonic days of color management when we were all figuring it out, I did a lot of work in SMPTE 240, a very similar space to AdobeRGB. That is until I learned it’s problems and found better colorspaces. Adobe should keep up with the times and ditch the vanity nameplate colorspace.

One of the hassles of updating mission critical software is making sure all your preferences and presets are configured correctly. It’s why I find upgrades painful even if they offer new features as they create downtime. I get joy from working up new photos, not solving software issues. So these things really frustrate me.

Classic Black and White Digital Processing Class

Are you ready to start processing your black and white photographs like a master?

In the last year, I’ve helped hundreds of photographers improve their B&W processing through my talks and workshops, and I’d like to help you, too. Wednesday, January 12, I’ll be starting another round of my popular four-session Zoom class, Classic Black and White Digital Processing.

My talk at the B&H Photo Event Space provides a great (and free!) introduction to the workshop. It touches on many of the subjects this class will explore in greater depth. 

Every time I teach this class, it’s rewarding to see how the participants improve their photography and processing skills each week. Here’s what my students have to say about the class:

I have found the class to be outstanding, not only for learning techniques that are new to me in creating a B&W image, but also the creative ideas to draw the viewer into the scene.
– Brad K.


I want to thank you for your classes and all the extra effort you’re devoting to your students. The information is worth far more than than the price of admission.
– Al H.


This class has introduced me to new tools for vastly improving my images.
– Dennis W.

We’ll meet for four online sessions, each Tuesday through February 2. Each session lasts two hours. The first hour is live instruction, where I teach the techniques I use. During the second hour, I show how I apply those techniques to YOUR photographs, providing insight and critique that will help you learn and grow. 

Each session will be available to re-watch online for two weeks after the class, allowing you to go over the content again, or watch at a different time if you have a schedule conflict. 

Sign up today, then keep chasing the light!

FREE File Evaluation! – Limited Time!

As a sneak peek into my upcoming Mastering Manual Exposure Workshop, I’m offering a free file evaluation to my readers. Send me three of your favorite files by January 5, and I’ll tell you how well they are exposed.

You’d feel cheated if you opened a bottle of fine wine and found it was only half full, right? Well the same type of thing may be happening to your photos. You might be cheating yourself out on detail that would make your processing easier and your photos look better. 

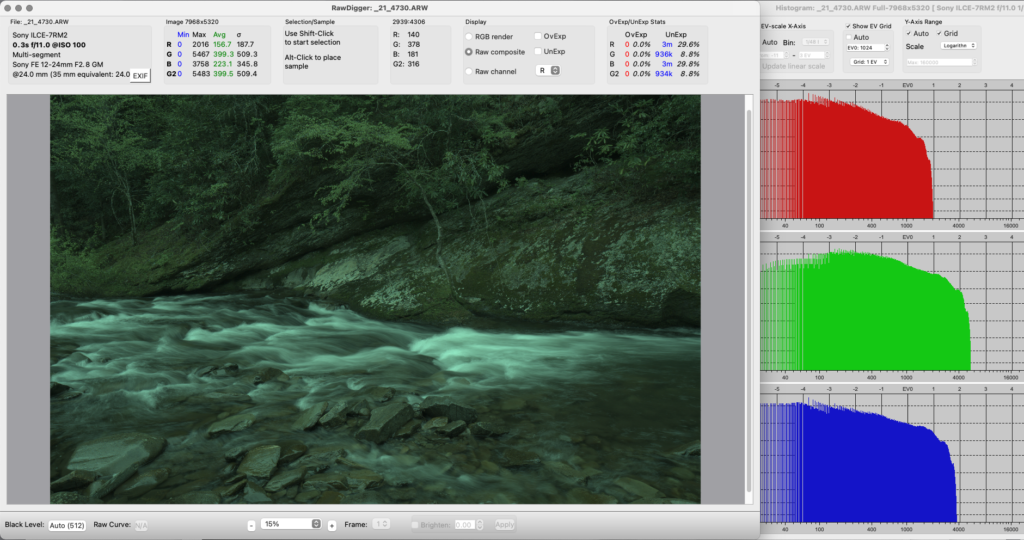
Evaluating your RAW files gives you important feedback on how you can improve your photographs. It’s so important that it is my first step in processing, and part of the processing workflow I teach. As a part of this free offer, I’ll tell you how well you’ve achieved the goal of exposing to the right. This is important because even small differences in exposure can make a big impact.

You might be thinking, “Oh boy! If I send my files, Rich is going to tell me how I messed up!” I think you know me better than that by now. The goal is to see what you’re doing well, and to be aware of areas where there is room to grow. Afterall, the better we equip ourselves with tools and knowledge, the easier it is to achieve our goals. Even experienced photographers can benefit from this offer–afterall, it’s free, so you have nothing to lose, and information to gain!

Send me three files today, and I’ll help you learn and grow!

Here’s what you need to do:

1. Pick three of your favorite photos, and find the RAW files for them. (My evaluation software only works with RAW, sorry no DNG or JPEG.) Lightroom users, use “export RAW” or “show in finder” to access your RAW camera originals.

2. Use wetransfer.com to send the files to rich@richseiling.com

3. This is a LIMITED TIME OFFER! Be sure to send your files by Wednesday, January 5.

Once I receive your files, I’ll evaluate them using the same process that I’ll teach on my upcoming Mastering Manual Exposure Workshop. Then, I’ll give you a report that tells how well you exposed your images, and how much of your camera’s potential you are using for each exposure.

One more thing: While photography instruction is not covered under HIPAA, I promise your results will be completely confidential!

Too Many Backups! Here is how I consolidated my old archives.

What do you do when you have too many backups? That’s a problem I’ve been working on for the past two years and I thought it might be valuable to put some of this in an article for others who face similar problems. 

First of all, how many backups is too many? For me it was when I started stacking backup hard drives like cord wood. Since I started making 300mb film scans in the late 1990s, I’ve had a series of larger drives holding my files. When I upgraded to a larger hard drive, I always kept the old drive “just in case”. This has led to a lot of drives. Just this week I found four drives I didn’t even remember I had, all from the 2007-2009 time frame. Last week I pulled files from some truly ancient drives that I hadn’t spun up in about 15 years. 

Why did I keep all these drives? I wanted to preserve the ability to go back in time in case I found a file had been corrupted at some point. The only way to fix a corrupted file is to go back in time before it got corrupted and pull that file. That is the purpose these drives served. 

Having ten or fifteen ancient drives taking up space consolidated on one large drive seemed like a better option, and would help me reduce some of my ever growing clutter. 

Adding to my problem of excess backups is how Carbon Copy Cloner (my backup software of choice), backs up files. CCC works in a very simplistic way that is very safe, but in doing so, it is easy to make duplicate files when you move folders around. So on top of my duplicate “archive” drives, I had several terabytes of CCC files to deal with. 

My goal for this project was three fold. First, I wanted to consolidate all my archives on one drive. Second, I wanted to deduplicate (dedupe) those files to remove unnecessary duplicates so that it would take up the least space possible. Third, I needed to do all this in a way that ensured that I precisely copied every file, bit for bit, and that any duplicates were truly duplicates with no differences at the bit level. 

The tool that has made this possible is IntegrityChecker from Lloyd Chambers at https://diglloydtools.com and diglloyd.com. 

IntegrityChecker does a number of very interesting things. Foremost, it will compute a cryptographic hash for every file on a drive. This hash serves as a checksum that can show if a file has been altered in even the slightest way, down to the bit level. This is very useful when copying files to another drive to ensure they copied exactly. It also lets me compare them to the hash at a later date to detect corruption. It does some other cool things too as I’ll explain in a moment. 

Consolidation

So my consolidation process looked like this. 

  1. Use Carbon Copy Cloner to copy from my old drive to a folder on a new drive. 

2. Use IntegrityChecker to compute hashes for both copies

3. Use the “compare” function of IntegrityChecker to compare the copy to the original. 

This process let me make a copy of the old drives with absolute assurance that I had copied every file correctly.  In over 20TB of files copied for this project, I only found one file that did not copy correctly for whatever reason. Not bad for pulling data off vintage hard drives. 

Deduplication

Goal two was to dedupe the drive where I had consolidated all my archives and backups. IntegrityChecker helped with this too. IC can use the hashes it creates to look for duplicates. If a pair of hashes matches, you can be sure with a extremely high level of confidence that these two files are exactly the same. This is a much better way to identify duplicates than other methods that rely on file size, name, and date, because those values will not detect bit level differences from file corruption. IC can, so if IC says two files are duplicates, they really are. 

IntegrityChecker lets you deal with dupes in two ways. First, you can use a unique feature of drives formatted with APFS on Macs to create a clone. When a close is made, the two files will be reduced to one at the disk level but you will still see two files in the finder. If you open one of these files and modify it, it will become a separate copy again. Cloning files allows you do reclaim disk space from duplicates without messing up your directory structure. This is very safe, but would not help me with some of my other goals as you will see. 

I decided to go a more aggressive route. I wanted to remove every duplicate file, so I used the  “- – emit rm” command to create a list of duplicate files with the command line code  to erase them. This would remove them from the hard drive permanently, leaving only one copy.

Distillation

As part of this process, I realized I could delete any of the consolidated files that were part of my current, up to date, working drive and backups. After all, I didn’t need copies of files in my master working archive, so why not get read of those too?

To do that, I made a copy of the files from my current “master” drive (the drive where I access my photos when I’m working on them) and copy them to the drive I was using for consolidation. I put this them in a folder labeled “a” and put the old backup copies into a folder named “z” because I learned that IntegrityChecker will use the top most directory to decide which duplicate to keep. By doing this, I could make IntegrityChecker delete the old files that matched my current files. And at the end of the process, I could delete folder “a”, and be left with only the files that did not exist on my current master drive. 

This project let me distill terabytes of files down to about 300GB, which is a very manageable size to keep and maintain.  I consider it a success to be able to get a dozen or so hard drives out of my life and my space for the effort while ensuring that I have an absolutely exact copy of every one of my files. 

This process has worked for me but be forewarned. IntegrityChecker is very powerful, and it is very easy to delete files you don’t intend to. You need to take the time to learn how it works and understand its behavior. I did a lot of testing to practice and understand it, and I am careful to think through the plan every time I use it, in addition to working when I have a clear mind (always a good idea when doing big things with your data!) 

If you have the same problems I do, I hope this gives you some ideas for how to solve it. Courteous questions always welcome.