
The Booth Museum has posted an amazing 3D walkthrough of Robert Glenn Ketchum’s latest exhibit.
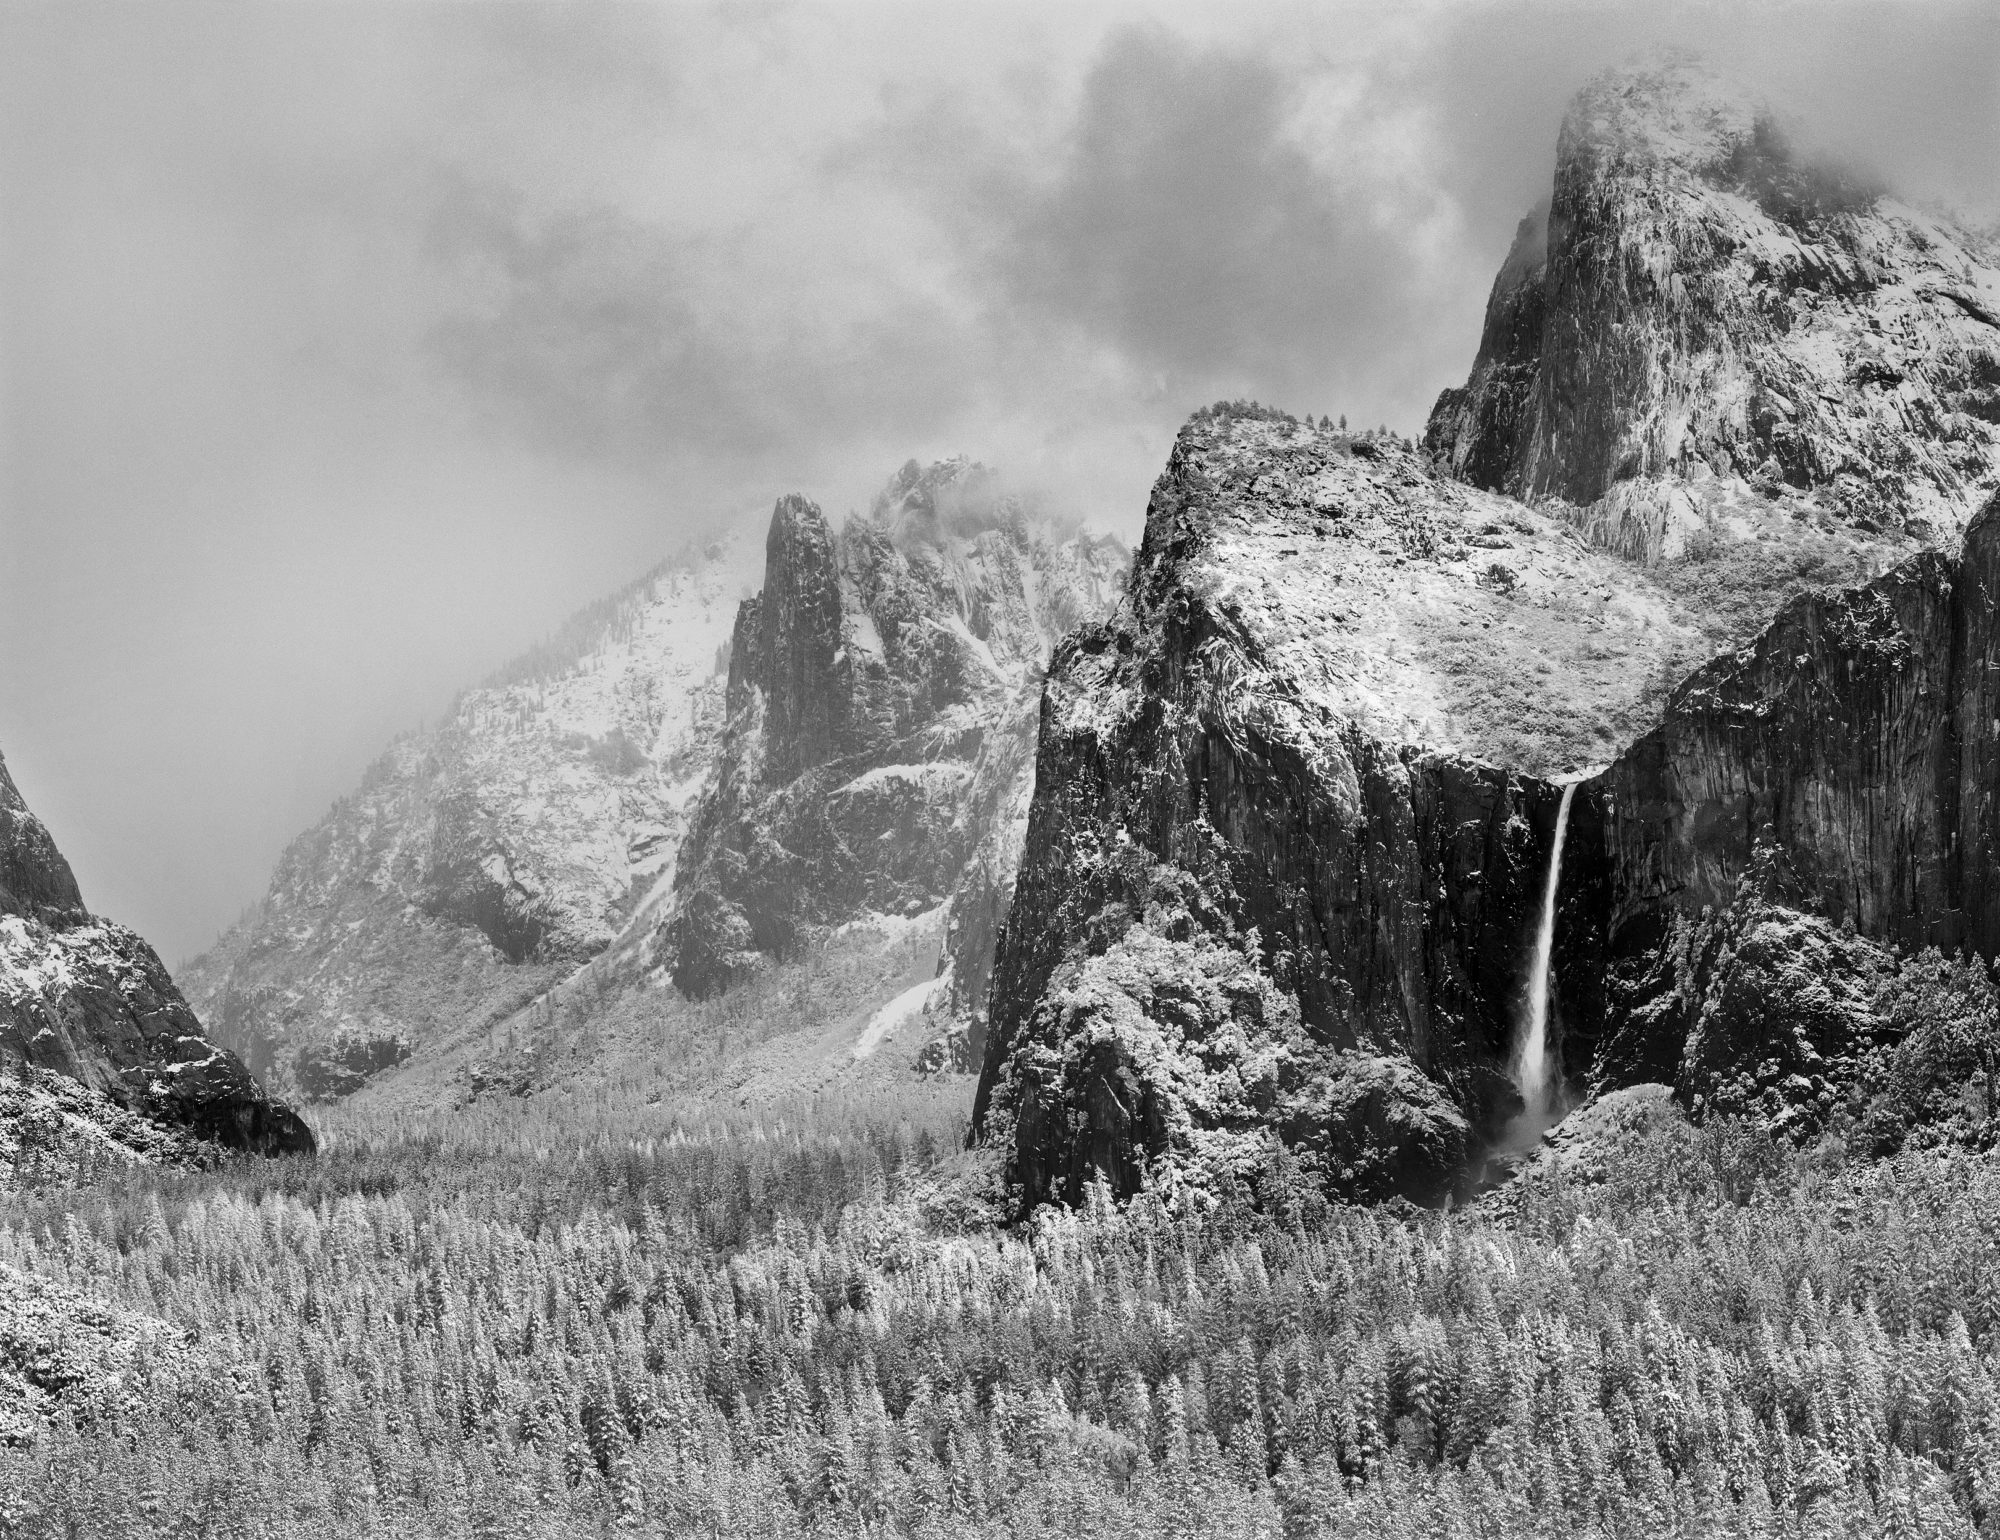
The picture posted above shows some of the work I and my team at West Coast Imaging helped produce for Ketchum over the years. The three pieces on the back wall are 48×66 inch prints mounted to dibond which really have to be seen in person to appreciate the effect scale has. Big prints like these are time consuming to produce well, technically challenging but immensely rewarding when finished.
What this walkthrough doesn’t show is the many phone calls, back and forth mailing of proofs, and sweating the details to get them just right. Hours and hours often go into these larger prints, inspecting every square inch of the file for defects and working to bring out the artist’s vision.
The walkthrough works chronologically through Ketchum’s many projects, starting with the work of Elliot Porter that influenced Ketchum and his take on color.
You can find a complete list of the photographs that in the display here. The prints marked “Fuji Crystal Archive” were made by WCI.
I want to be sure to acknowledge the contributions of all the West Coast Imaging team members that worked to produce these prints over the years. Master Printmakers Michael Jones, Terrance Reimer, and myself all had a hand in the Photoshop processing at various times. Jeff Grandy did his magic on the Tango drum scanner to turn Ketchum’s original film into high resolution digital data. And of course the many other talented individuals who helped output, inspect, and ship the prints so they could be turned into this exquisite museum show.