Right now, Lightroom is limited to one curve per file…or so I thought. A happy accident showed me how to apply two different curves to a Lightroom file.
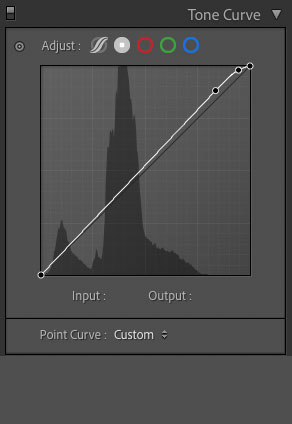
The curve dialog in Lightroom offers us several ways to apply a curve to apply a curve. The most relevant here are the “point curve” and the “parametric”. you choose these by using those icons nest to “Adjust” in the curve box.

I had assumed that you could only use one of these, but it turns out that you can use both a point curve and a parametric curve, and that lets you add a second curve adjustment to your Lightroom files.
The catch is you have to be careful with the parametric tool, which I feel is a poorly designed approach to using curves. But used with care, it can help you take just a little more control of your file until later this year when Lightroom gets the ability to use curves in the mask tool.
If you are not using curves, you should. If you’d like to learn more about how I use curves, it is a tool I teach as part of my four session color and black and white processing workshops, and is covered in my upcoming book.