Prints are only a good as the file that made them, so the more we refine our files, the better our prints will become.
One of the ways to do this is to start making Target Files. Targeted Files are copies of the Master File that have been prepared for output or display on a specific device at a specific size.
I make a targeted file every time I make a print or post a file online.
My checklist for targeting goes like this:
1. Copy the Master File
2. Flatten all layers (Photoshop)
3. Size to height, width, and dpi as needed for the output / display device
4. Sharpen to taste
5. Dustbust at 100% magnification
6. Add border as necessary
7. Trim marks as necessary
8. Remove any alpha channels (Photoshop)
9. Save as copy with size in name. Use TIFF format when possible.
Once complete, the targeted file is the one that is printed, sent to the lab, or uploaded to the web.
Each one of these steps gives you an opportunity to take control of a parameter that can improve the final print.
Every software handles these steps a little differently, but it should be possible to follow this workflow with any well made imaging program.
It’s important to do these in order because weird things can happen if you don’t. For example, if you sharpen the image after adding borders, you’ll probably get a faint halo around the image instead of a nice clean line. They are in order for a reason that will become apparent as you learn the targeting process.
I’ll be teaching a Mini-Clinic for Brentwood Photo Groupmembers on March 14. This clinic is a members only even and free to BPG members.
Musicians expect that middle C will sound the same on any piano in the world. Photographer should have a similar expectation of a properly tuned instrument when they make prints. This is achieved through color management. I’ll talk about what color management is, and how to use it properly. A key part of this clinic will be looking at prints to see what is correct calibration, and learning to see what is in-tune and out-of-tune. We’ll look at how to evaluate canned profiles as well as prints from labs. I’ll have samples of “in-tune” prints, and will encourage participants to print my test file to bring and evaluate their printer or lab. Participants will leave with a new understanding of the level of accuracy and repeatability possible with color management that will make their prints “sound” their best.
A lot of people ask me why I use Photoshop instead of Lightroom, so I made this video to try and answer that. This image is a great example because of it’s extensive use of masking and individual adjustments for each layer. Photoshop’s masks let me take control of any area with great precision and make it very easy to modify my masks should I change my mind. Being able to use a different curve with each mask lets me carefully control contrast. And it’s very easy to make layers and masks work together and not against each other. Once you learn how to do this, it’s a quick, easy, and fluid process. I find that important because the ease helps me express my creativity with less effort which makes it easier to be more creative. Do you know how to make changes like this in your photo software of choice? Tell me what you think!
The new Nikon mirrorless system has everyone buzzing. Even my pizza guy was talking about it with me the other day while I was waiting on my pies, a conversation prompted by the Sony a5000 around my neck. So what do I think?
I think you should be thinking about lenses. For most photographers, the latest camera isn’t going to do near as much for your photographs as better lenses will. That’s because, if you are like most photographers, you are probably using lenses that don’t make the fullest use of your sensor (and that’s true even of your expensive zoom.)
The reality is that the sensors in all the major camera brands have gotten pretty good. If you are using a pro body instead of a consumer body that is of recent vintage, the improvements are going to be incremental. Even the top of the line Nikon D810 only offered incremental improvements over the D800, and while I might be able to see that extra little bit when working the file in Photoshop, once you get to the print, there are no tell tale signs to tell me which was from the D800 vs D810.
In fact, the differences between even different brands of sensors with a pro-ish body isn’t something you can readily identify by looking at typical prints. ~24 MegapixelNikon/Canon/Sony/Fuji all produce really good results.
You probably have more to gain by buying a better lens than a new camera. Because while the camera brand you used might not be noticeable in print, the lenses you use will be.
Prints don’t lie. If your corners are fuzzy, with low resolution even at a higher f stop, then it’s very telling of the quality of your lens and how you used it.
For years the standard with film SLRs, and now DSLRs, has been to accept lenses that were sharp in the middle and gradually lost resolving power towards the corners.
But while this was the standard in 35mm size SLR bodies, it was not the standard with medium and large format film cameras used by many professionals. On my 4×5 film camera that resolves upwards of 200 megapixels, I expect the image to be sharp from corner to corner as well as in the middle. After all, what’s the point of using such high resolution film if you aren’t getting all the incredible sharpness and resolution it can achieve?
So I come to DLSRs with a different expectation. It is possible to achieve this corner to corner, high resolution sharpness with a DSLR…if you pick the right lenses. Zeiss is the first lens brand that comes to mind, as well as many of the Sigma Art lenses. Select lenses from Nikon and Canon lenses are also very good, but most lenses from Nikon/Canon/Sony/Fuji are are just average…which is really true of all the manufacturers. Nikon/Canon/Sony/Fuji et. al. make lenses at a wide variety of price points with a wide variety of quality. This is especially true of zoom lenses. It requires careful research to separate the multitude of average lenses from the few really great lenses.
Picking these lenses is a topic for a different article, but a good starting point is looking at the MTF curves for a lens. Another great resource is Lloyd Chambers site diglloyd.com. Instead of made up testing metrics, Lloyd lets you see full size images from most of the high end lenses and camera systems made in real world situations (although you do have to pay for access.) I find that looking at actual images tells me more about a lens than the average opinion, and Lloyd lets me do that without having to buy or rent a plethora of lenses. Or you can put things to the ultimate test and use them them side by side, which is always very enlightening. Lenses are the long term investment in a system, not camera bodies. The rules of physics don’t change, and a great lenses today will be a great lens for a long long time. You are likely to keep your lenses for over a decade or more, and use them on a series of different camera bodies. So before rushing out to buy the latest greatest body, take a look at your lenses, and see if you should be adding one or two really sharp primes to your bag instead.
Honestly I’d rather use a 24 megapixel camera with a couple of really sharp primes than an 36+MP camera with just average glass. The difference is that striking. Getting a better lens is the lowest hanging fruit you can pick, and will improve every photograph you make with it much more than a incremental body upgrade will.
Will your prints match the next time you print them? Can you take the same file and obtain the same results using a different printer, ink, and paper? I can, and so can you.
For twenty years, I’ve been printing client photos, and my own, over and over again with a very exact match, using different printers including LightJet, Chromira, multiple generations of Epson printers, Canon Printers, and even Metal…and on dozens of different papers. It is still a little mind-blowing for me to realize that this is even possible; That I’ve been printmaking for that long, and with so many different processes.
Accuracy, control, and repeatability are what first made digital printing interesting to film photographers, long before there were viable DSLRs. For a photographer who sells prints, having the print they deliver match the one the client saw on the wall, regardless of size, was (and still is) a huge deal. With darkroom printing using an enlarger, this kind of matching was virtually impossible and caused many frustrations. My earliest clients were mostly photographers with galleries who needed to be able to deliver prints that matched on demand, at any time, and at any size. They moved to digital to make that a reality.
That requirement, to match the original print at any point in the future, makes how I set up my printer the most important step in my workflow. I absolutely need to print the file as accurately as possible so it will match the previous print. My pro clients can see the smallest differences in color, density, and contrast. They know their subjects, and their photos, inside and out. They immediately see if something is off. Some of them can even explain the scientific process that produces a certain shade of color in an animal’s feathers; or a geologic feature; or the ocean in a certain part of the world. Achieving this exacting level of color matching is one of the reasons they keep working with me, and drives every step of my process.
The key to this is color management; using ICC profiles to characterize a paper/printer/ink combination. With an accurate ICC profile, if you do all of the printing steps the same, you will enjoy the same result, time after time, even if you change printers or papers.
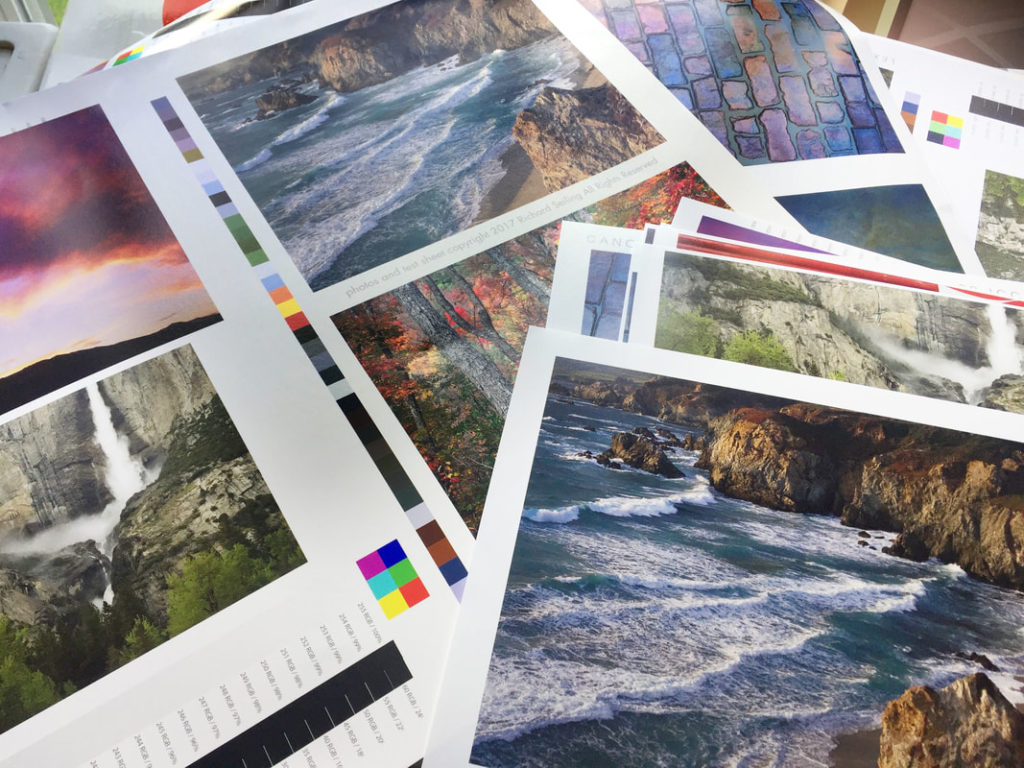
That’s why I take profiling very seriously. Every profile I use has been carefully tested by printing a test image, and comparing it to my library of previous test prints to see if they match. These test prints let me evaluate accuracy, but they also let me evaluate differences between printers, inks, and papers. Obviously, not all printers, papers, and inks can produce the same aesthetic feel, and the definition of “match” needs to include these factors. It also lets me see improvements to the printing process. When a manufacturer makes a blacker black ink, you can see it in the test prints, and see how it affects the image.
Matching also means that what I see on my printer looks like what I see on my $1,000 reference-grade monitor. Being able to make a very good screen-to-print match on the first print not only makes me efficient when working on client files, but it also lets me work more intuitively on my own photos, which I believe lets me bring more out of the process. It allows me to be more expressive because I’m not fighting the file, but can work with it fluently and easily.
How accurate do you need to be?
That’s something only you can answer. While very high accuracy is a vital part of my personal expression, and of my business printing for other photographers, a photographer printing for themselves has more leeway to say “good enough.” The public-at-large viewing your photographs are not trained to see the small differences in color and density that a photographer is. They don’t know what you saw in your mind’s eye when you clicked the shutter. They only know what they see on the print, and whether they like it or not.
Even if you don’t have the world’s best profile, you can make prints that “match” themselves as long as you use the exact same file, printer, paper, and settings. Of course, if you change any of those factors, then your prints will no longer match. When (not if) that happens, your only solution is to decide that the difference between how it printed before, and how it prints now, is acceptable…or go back and make new adjustments to make a better match.
My personal expectations, and those of my clients, don’t give me this kind of leeway. But when you are the one doing the printing, you set the expectation for how well your prints will match the next time you print them. Your bar is going to be set by your needs, expectations, and how well your eye is trained. When getting the prints you want becomes frustrating; when you’ve spend hours working on a photo in image processing software to make it look exactly the way you want it, only to have it print differently; then it’s time to learn to become more accurate.
But I encourage you to seek that high bar of accuracy even before you need it. The ability to see, and control, small differences in color and density will help you make better decisions when processing your photos, and make you a better photographer. (Plus, your prints will look the same 20 years from now!)
Are you making prints on a regular basis? Why? Or why not?
I think printing should be a regular part of your photography. Nothing will test your photographs more, stretch your abilities, and force you to learn new photography skills, than the process of making prints.
I’ll go so far to say that, if you can consistently produce fine quality prints from your photographs, you will have successfully mastered key components of the craft of photography, and you will be equipped to explore even greater depths of the art.
First, you have to understand that prints are the ultimate expression of a photograph.
Stop thinking that what your monitor or device shows you is what your photo really looks like. The screen is not even close to the accuracy of a print.
Professional printing devices are capable of producing a much wider range of colors (color gamut) than a screen can. They are capable of higher resolution, greater detail, more delicate highlights, and delicate shades of gray in black & white. It’s the difference between a flawless live performance of your favorite music, versus a YouTube video of it from a crummy phone.
Because of this, the print is unforgiving. It will show every flaw and every error in judgement, exposure, focusing, color balance and processing. It’s not a 1500 pixel square on your phone; it’s the real thing, raw, fully laid bare for all to see. And that’s why it’s so powerful. It will test you, measure you, raise your expectations, challenge you, sharpen you, and make you a better photographer.
Don’t do it alone. You need someone who has already mastered the skill to guide and critique your progress; to tell you it’s too contrasty, your highlights are blown out, or you didn’t focus properly. This is an integral part of formal photography training that is lost if YouTube is your only teacher.
Take a class at a local college, go on workshops, and share your work at local photo clubs. Seek out people who make prints you admire, and beg, borrow, or buy time with them to be mentored. Some of the best photographers in the world are easily accessible through workshops. Take advantage of that.
Then find museums and galleries close to you, get on their mailing lists, and go look at prints regularly. Seek it out when you travel. Develop a mental impression of what you think a great print should be. See how artists handle shadows and highlights, color, focus, and paper choice to make their expression.
Lastly, make prints regularly. You’re going to learn more working on a fifty prints in a year than you will just ten. Don’t get caught up in what’s “print worthy” or not. If you think there is something there, print it and start working the process. Hang them on the wall, live with them, and see if they stand the test of time or need to be reworked, or abandoned. Start with 8×10 prints then work your favorites up to larger sizes. Fill your walls, and your friends! Give them as gifts, and let others enjoy them.
Making prints is the fast-track to improving your photography and refining your craft, making you into an even better photographer than you already are.
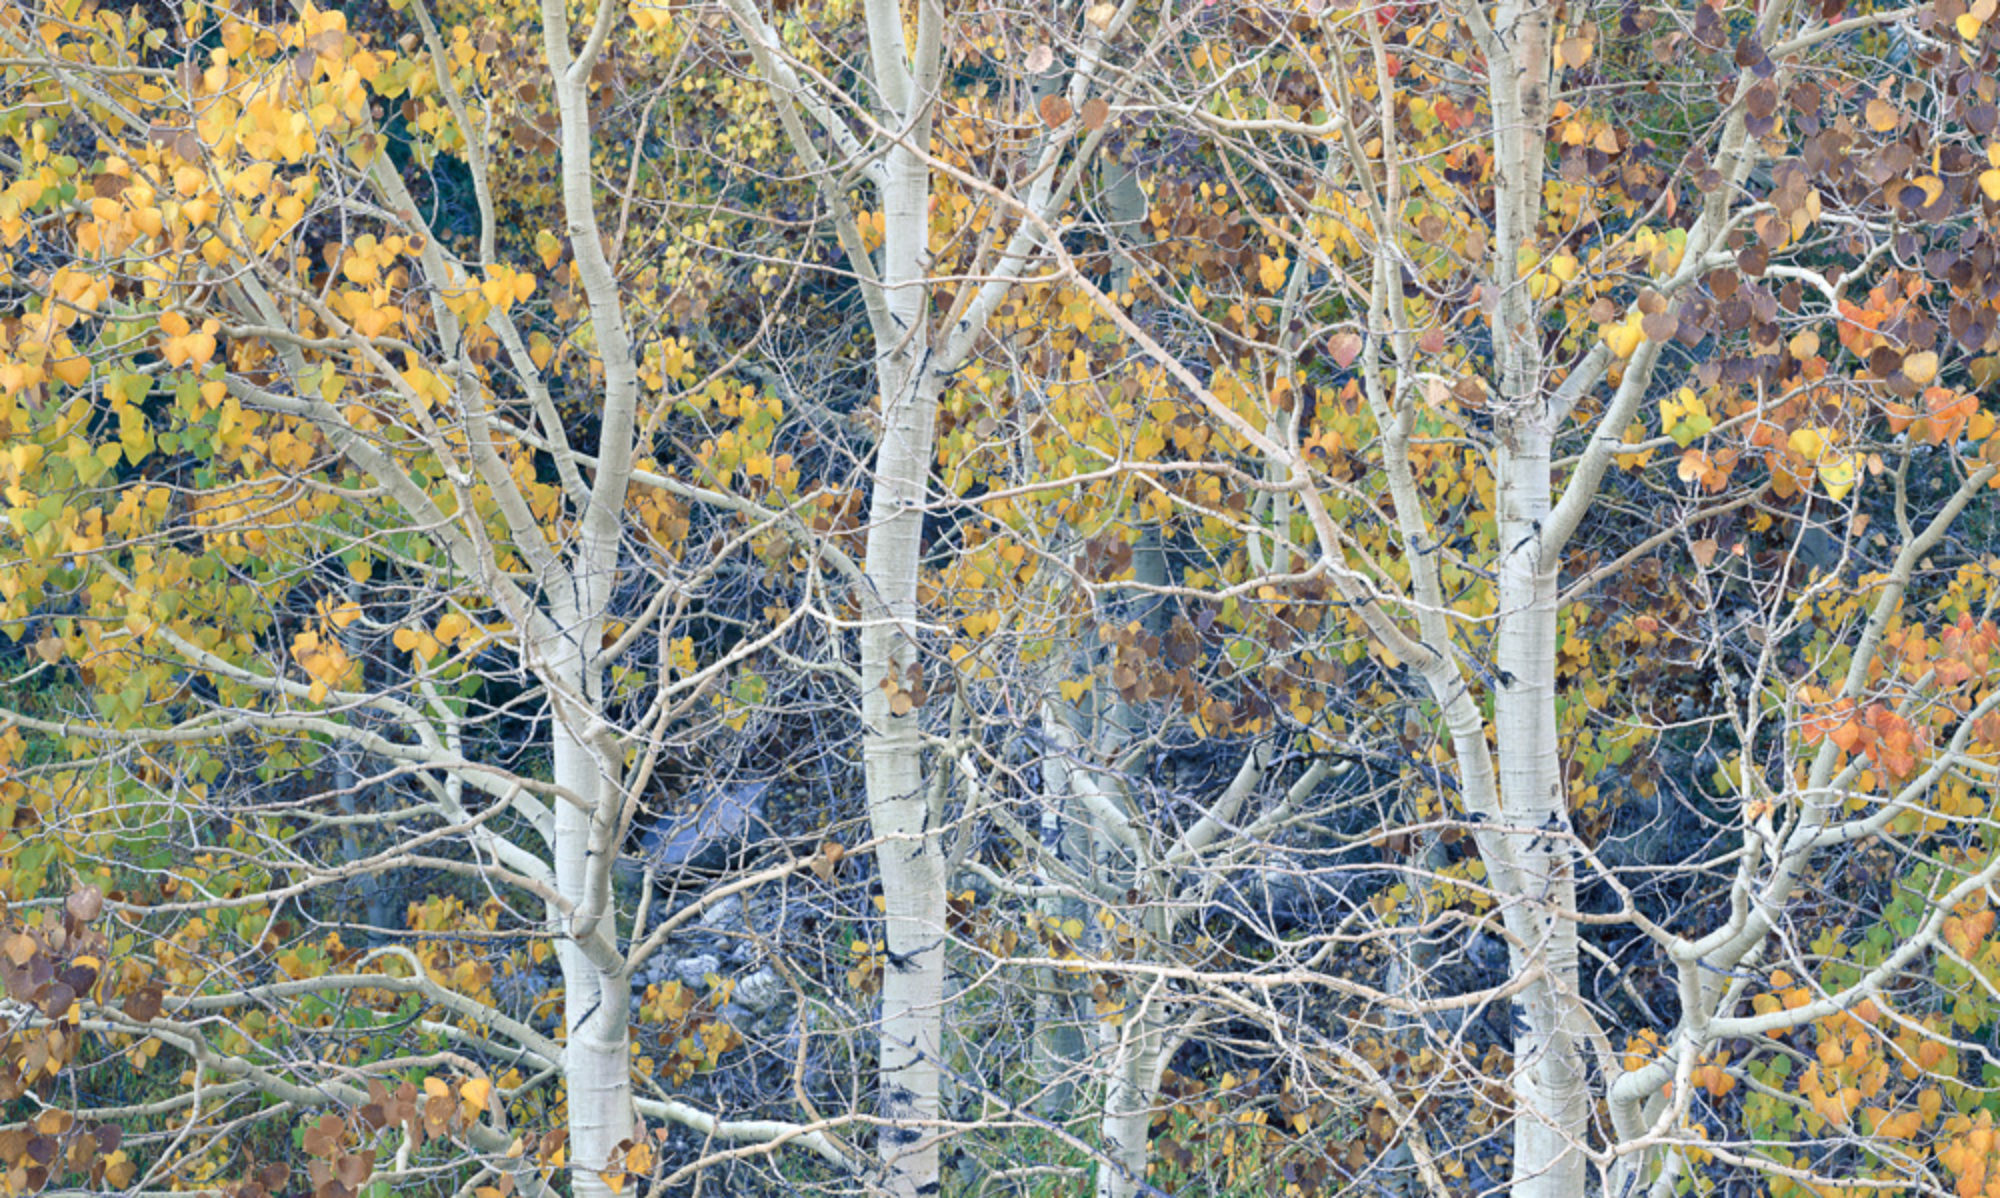
The Sentinel, Clearing Storm at Sunset, Yosemite National Park
Most photographers I speak to want to make better prints. It seems to be an area that causes the much frustration for photographers, with many gaps in knowledge that have few clear paths to solving. And I think at least part of the problem is that what we see in our minds eye when we think about our photograph rarely looks like what ends up on paper.
I can completely relate. From the first time I made a print in my friends’ basement with a laundry detergent bottle for a safelight, I’ve been on a quest to learn how to make better prints. The more I discovered photography was capable of, the more I developed my vision, the more I wanted my prints to express what I saw and what I knew was possible.
I want to help others take this same journey I have, so I’ve created a new website MakeBetterPrints.com. My goal for this site is reflected in it’s name: Make Better Prints. That’s what I want to help you do. Regardless your skill level, there is another step you can take, another thing you can learn that will help you improve your work. It’s about learning, growing, and most of all enjoying photography and the printmaking process.
In twenty years of teaching digital printing, I’ve helped countless people learn to make better prints, from beginners to seasoned professionals. I know from those experiences that it’s possible for you to learn the skills necessary to become a better printmaker. I want to help make straight paths through the wilderness so you can avoid the pitfalls and trials I’ve been through.
I’ve been printing long enough to know that no one knows all the answers, but my twenty years running a fine art photo printing studio, building up teams of master printmakers, working with tense of thousands of photographers, and helping make hundreds of thousands of prints, have given me a unique knowledge of how to make better prints.
MakeBetterPrints.com gives me a place to share that knowledge with you; What has worked for me, what hasn’t, and what produces the look and feel that I think expresses the art of printmaking.
All you have to do is be willing to come along for the journey, to try new things, and to focus on making one more step forward.