
This is a follow up to my April project to check the integrity of my backups as I was moving my files to a larger hard drive.
My objective was to make sure that every single file (about one million) copied exactly to the new drive, and that there were no errors that would prevent me from accessing my data.
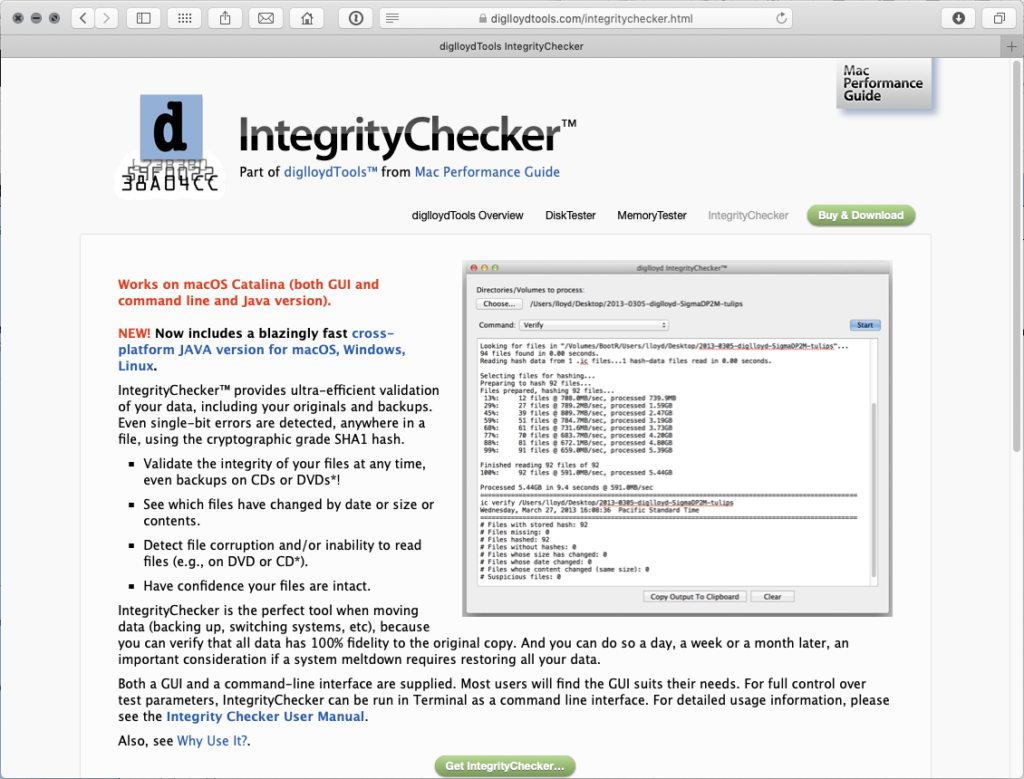
To do this I used a software app from Lloyd Chambers called Integrity Checker which is the most efficient tool I’ve found for this unique job. It’s a command line tool that uses the Mac terminal. That in itself was a learning experience as previously I’ve been very afraid of how bad the wrong command in terminal could muck things up.
Thanks to Integrity Checker, I was able to confirm that my two main backup copies are exact duplicates of the “master” hard drive. That’s a very good thing because it means I really do have a useable backup when my main drive fails. (All drives fail, it’s just a matter of when.)
My secondary objective was to verify some bare drives I was using in the past for backups. I had stopped using them because the were throwing errors in CarbonCopyCloner. I suspected that these errors were due to the drive dock I was using them in, but had no way to be sure, so I didn’t trust them. They got shoved into a drawer and were just sitting there as “worst case” backups as a hail Mary play in case I needed it if things every got really ugly.
To try and bring these orphaned drives back into my active backup, I put them into a known good drive enclosure. Then, using Integrity Checker, I was able verify that every file on them matches my “master” and that the drives are trustworthy. That gives me confidence to use them again for backing up new data, and lets them be useful as part of my backup strategy.
The one thing that has surprised me as I completed this project is that everything actually worked. Terabytes upon terabytes of data and multiple copies of a million files that were hashed and read multiple times, and it all worked. Even digital photos from the mid 1990s were still there and readable. I think I found a dozen files that threw an error, but they were all readable so the error was insignificant and they were mostly XMP files. That has made me much more trusting of the process used to backup my data. A sigh of relief, but I’ll still remain vigilant.
Another surprise was how many files I had duplicated on the drives. For a myriad of reasons, I had multiple folders with the same files that built up over the last twenty-ish years of managing my archive. One terabyte of duplicates to be precise. It would be a nightmare to reconcile all those files manually, but Integrity Checker came to the rescue again. One of it’s functions allows you to identify duplicate files…that’s how I discovered the 1 TB of duplicates in the first place.
But just as valuable was Integrity Checker’s ability to “clone” the duplicates and regain that wasted space if you are using a APFS formatted drive.
APFS is a format for storage drives used with a Mac. It’s designed for solid state drives, not spinning disks. It will work with a spinning hard drive, but it can cause a slowdown in transfer speed. That’s something I could tolerate for backups if it let me get back a terabyte of space, so one by one I converted my backups to APFS, re-verified that all the files would read back correctly, then used Integrity Checker to “de-dupe” the drives and reclaim that 1 TB of space back.
The unexpected benefit of this de-duping is that I now have a whole new set of tricks up my sleeve to manage my storage more efficiently.
The end result is that I now know that every copy of my data is good, and I know how to check it as I go forward to ensure it stays good. This gives me more confidence that my files will be there when I need them, which was the whole point of this adventure…and something I wish I had done a lot sooner.
My next adventure is to take one of my offsite backups into the cloud using a Synology DiskStation and Backblaze cloud…more on that in a future post.
Until then, keep backing up those bits!