Simple Tools – Complicated Results

Simple tools can be used to create very complicated results in Photoshop. This video shows how I use three of my primary tools in Photoshop. I’ve had some comments recently that viewers had not considered that multiple layers could be used like this, so it may be an interesting view into my problem solving approach with Photoshop.

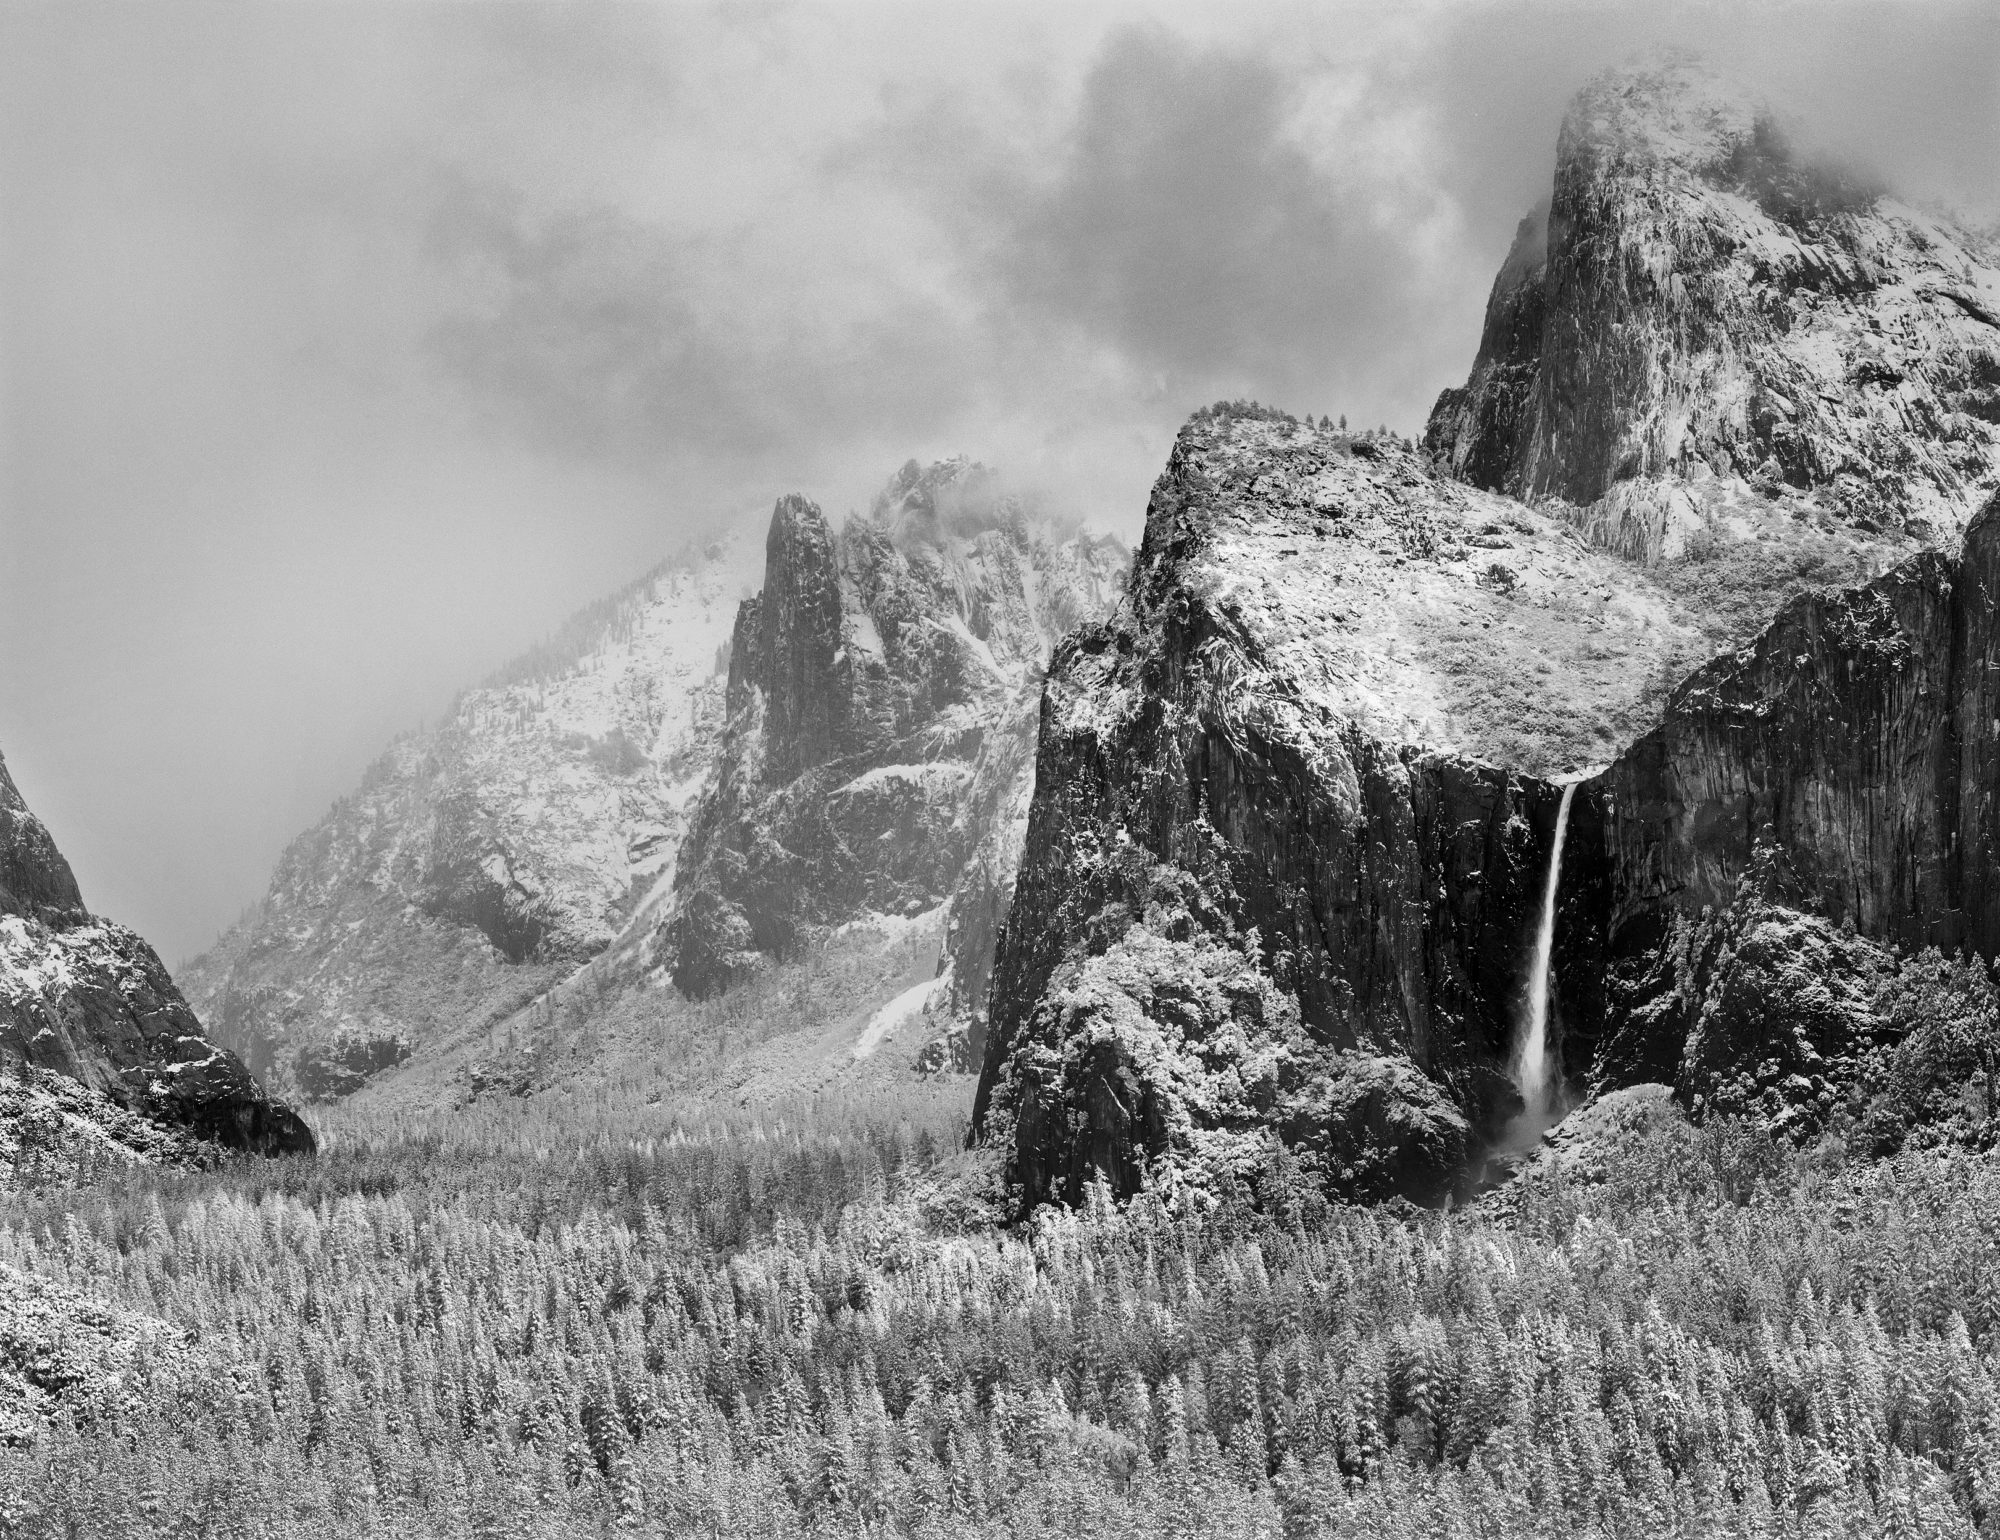
My techniques are based upon what I learned in the darkroom in my early years in photography, and applying those techniques to Photoshop. My study of Ansel Adams’ Zone System and printing workshops I’ve taken with John Sexton, have been among the biggest influences of what I think a “fine print” should look like. My style is based very much in the West Coast / ƒ64 school of photography, and while I use digital tools, the look I strive for is in that tradition.

Using Multiple Curve Adjustment Layers with Masks in Photoshop

A lot of people ask me why I use Photoshop instead of Lightroom, so I made this video to try and answer that. This image is a great example because of it’s extensive use of masking and individual adjustments for each layer. Photoshop’s masks let me take control of any area with great precision and make it very easy to modify my masks should I change my mind. Being able to use a different curve with each mask lets me carefully control contrast. And it’s very easy to make layers and masks work together and not against each other. Once you learn how to do this, it’s a quick, easy, and fluid process. I find that important because the ease helps me express my creativity with less effort which makes it easier to be more creative. Do you know how to make changes like this in your photo software of choice? Tell me what you think!