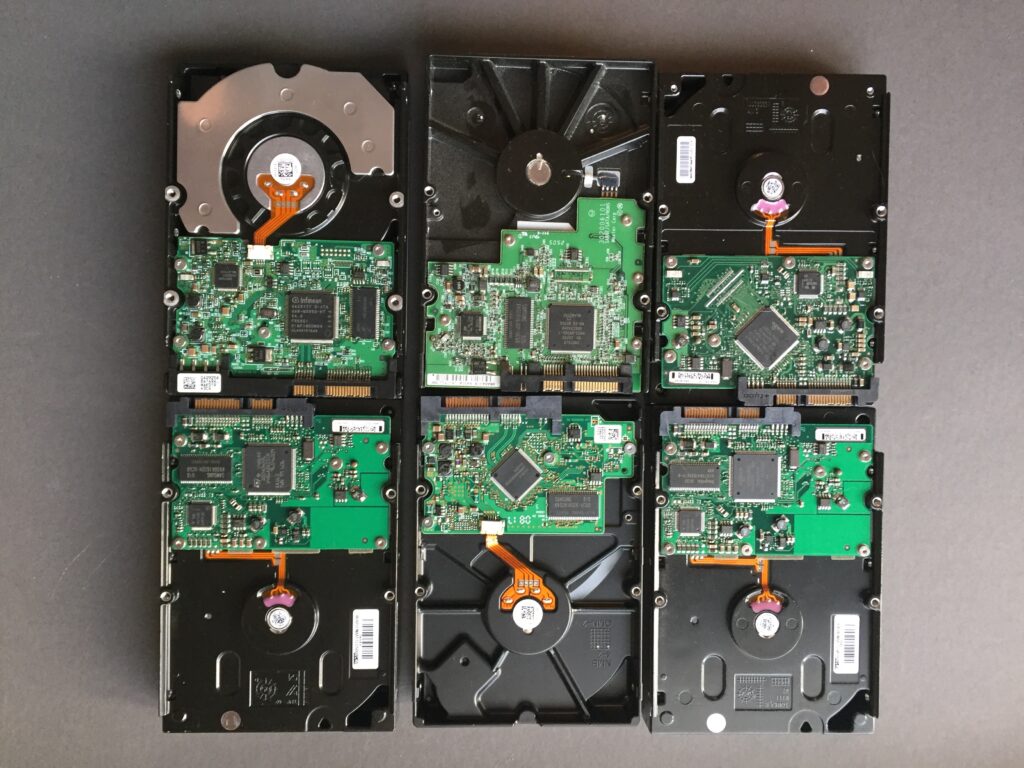
Too Many Backups! Here is how I consolidated my old archives.

What do you do when you have too many backups? That’s a problem I’ve been working on for the past two years and I thought it might be valuable to put some of this in an article for others who face similar problems. 

First of all, how many backups is too many? For me it was when I started stacking backup hard drives like cord wood. Since I started making 300mb film scans in the late 1990s, I’ve had a series of larger drives holding my files. When I upgraded to a larger hard drive, I always kept the old drive “just in case”. This has led to a lot of drives. Just this week I found four drives I didn’t even remember I had, all from the 2007-2009 time frame. Last week I pulled files from some truly ancient drives that I hadn’t spun up in about 15 years. 

Why did I keep all these drives? I wanted to preserve the ability to go back in time in case I found a file had been corrupted at some point. The only way to fix a corrupted file is to go back in time before it got corrupted and pull that file. That is the purpose these drives served. 

Having ten or fifteen ancient drives taking up space consolidated on one large drive seemed like a better option, and would help me reduce some of my ever growing clutter. 

Adding to my problem of excess backups is how Carbon Copy Cloner (my backup software of choice), backs up files. CCC works in a very simplistic way that is very safe, but in doing so, it is easy to make duplicate files when you move folders around. So on top of my duplicate “archive” drives, I had several terabytes of CCC files to deal with. 

My goal for this project was three fold. First, I wanted to consolidate all my archives on one drive. Second, I wanted to deduplicate (dedupe) those files to remove unnecessary duplicates so that it would take up the least space possible. Third, I needed to do all this in a way that ensured that I precisely copied every file, bit for bit, and that any duplicates were truly duplicates with no differences at the bit level. 

The tool that has made this possible is IntegrityChecker from Lloyd Chambers at https://diglloydtools.com and diglloyd.com. 

IntegrityChecker does a number of very interesting things. Foremost, it will compute a cryptographic hash for every file on a drive. This hash serves as a checksum that can show if a file has been altered in even the slightest way, down to the bit level. This is very useful when copying files to another drive to ensure they copied exactly. It also lets me compare them to the hash at a later date to detect corruption. It does some other cool things too as I’ll explain in a moment. 

Consolidation

So my consolidation process looked like this. 

  1. Use Carbon Copy Cloner to copy from my old drive to a folder on a new drive. 

2. Use IntegrityChecker to compute hashes for both copies

3. Use the “compare” function of IntegrityChecker to compare the copy to the original. 

This process let me make a copy of the old drives with absolute assurance that I had copied every file correctly.  In over 20TB of files copied for this project, I only found one file that did not copy correctly for whatever reason. Not bad for pulling data off vintage hard drives. 

Deduplication

Goal two was to dedupe the drive where I had consolidated all my archives and backups. IntegrityChecker helped with this too. IC can use the hashes it creates to look for duplicates. If a pair of hashes matches, you can be sure with a extremely high level of confidence that these two files are exactly the same. This is a much better way to identify duplicates than other methods that rely on file size, name, and date, because those values will not detect bit level differences from file corruption. IC can, so if IC says two files are duplicates, they really are. 

IntegrityChecker lets you deal with dupes in two ways. First, you can use a unique feature of drives formatted with APFS on Macs to create a clone. When a close is made, the two files will be reduced to one at the disk level but you will still see two files in the finder. If you open one of these files and modify it, it will become a separate copy again. Cloning files allows you do reclaim disk space from duplicates without messing up your directory structure. This is very safe, but would not help me with some of my other goals as you will see. 

I decided to go a more aggressive route. I wanted to remove every duplicate file, so I used the  “- – emit rm” command to create a list of duplicate files with the command line code  to erase them. This would remove them from the hard drive permanently, leaving only one copy.

Distillation

As part of this process, I realized I could delete any of the consolidated files that were part of my current, up to date, working drive and backups. After all, I didn’t need copies of files in my master working archive, so why not get read of those too?

To do that, I made a copy of the files from my current “master” drive (the drive where I access my photos when I’m working on them) and copy them to the drive I was using for consolidation. I put this them in a folder labeled “a” and put the old backup copies into a folder named “z” because I learned that IntegrityChecker will use the top most directory to decide which duplicate to keep. By doing this, I could make IntegrityChecker delete the old files that matched my current files. And at the end of the process, I could delete folder “a”, and be left with only the files that did not exist on my current master drive. 

This project let me distill terabytes of files down to about 300GB, which is a very manageable size to keep and maintain.  I consider it a success to be able to get a dozen or so hard drives out of my life and my space for the effort while ensuring that I have an absolutely exact copy of every one of my files. 

This process has worked for me but be forewarned. IntegrityChecker is very powerful, and it is very easy to delete files you don’t intend to. You need to take the time to learn how it works and understand its behavior. I did a lot of testing to practice and understand it, and I am careful to think through the plan every time I use it, in addition to working when I have a clear mind (always a good idea when doing big things with your data!) 

If you have the same problems I do, I hope this gives you some ideas for how to solve it. Courteous questions always welcome. 

Printing Issues After Software Update

When your prints come out looking completely different than last time, it makes for a frustrating morning. 

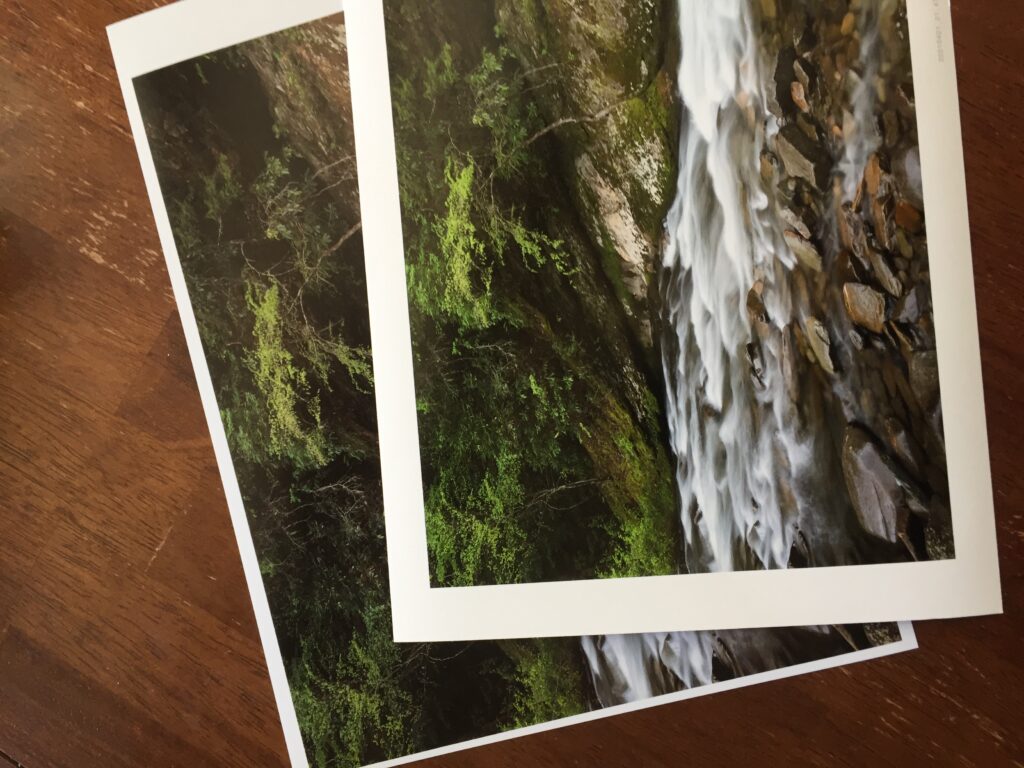
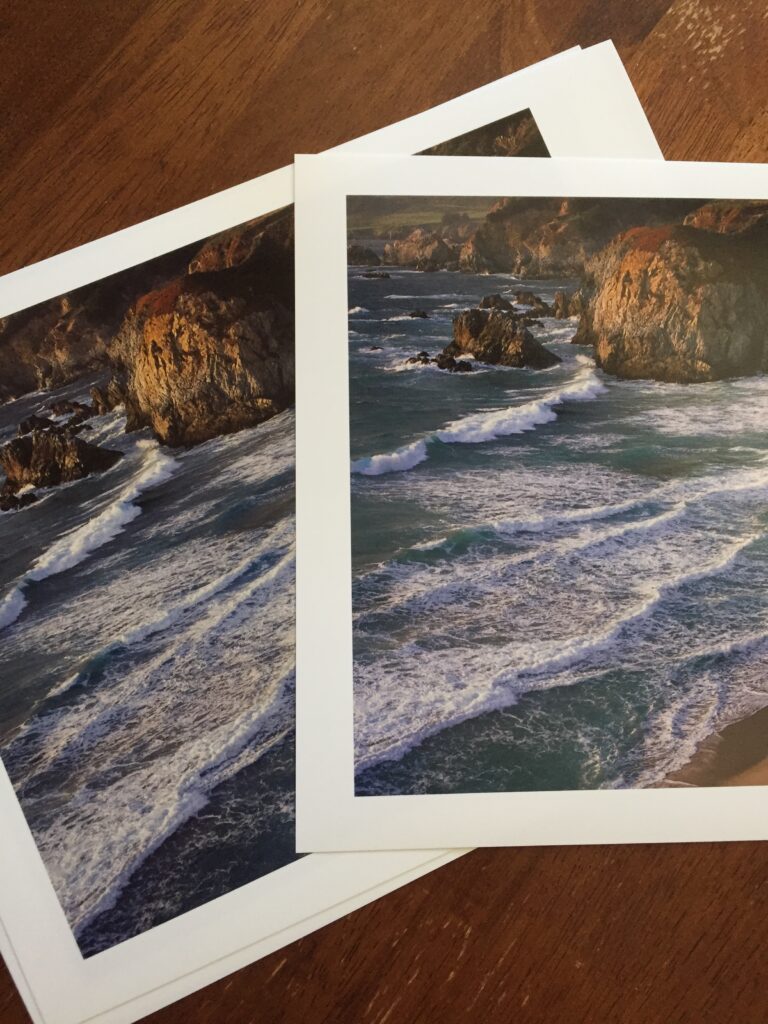
This morning I tried to print with my MacBook Pro fresh of an update to Catalina, the latest software it can run. The first print came out looking odd. So I compared it to a previous print, and my color memory was correct, it did not print properly. 

Time to start troubleshooting. I picked a second photo and printing it, triple checking that I chose all the correct settings.  Same problem. So I print it again with a different profile to see if the profile is the problem. Still wrong. SO I try it on a completely different paper and profile. Still wrong. Possible root causes are going through my mind this whole time. 

Maybe it’s the ink starvation issue I had when this printer was new that caused one of the colors to drop out? So I pulled out the special test sheet made specifically for this purpose. The colors didn’t match, but they all printed. So probably not that. Another sheet of paper burned with no fix. 

I’m about six sheets of paper in at this point, and that is always frustrating because I hate wasting paper and money. But burning paper is part of troubleshooting a printer so I fordge ahead. And my heart rate is going up as I think about at best spending the next day or so remaking profiles, or at worst dropping $800+ on a new print head and the ink needed to install it. 

With this latest piece of data, I realize I’m chasing my tail, and before I go down the road of more involved solutions, I need to try printing from a different computer to isolate if this is software or hardware related. Time to fire up the mac mini that I had validated last week as “working.”

Eureka! That fixed it. My heart rate goes down, no need to buy an expensive print head to fix it, or reprofile all my papers.

So what happened? Likely a software issue when I updated my MacBook Pro, probably the print driver. A reinstall of the print driver with the latest version should fix it. But that can wait for another day when I’m not trying to make Christmas presents. 

Today’s difficulties are one of the reasons I am very cautious about major updates to my computers. Updates cause issues and deviations from the carefully controlled environment needed to make consistent, accurate prints. 

Furthermore, my printer and monitor rely on third party apps to work correctly, and it’s common  for vendors to take months after a major software update to write new ones that are compatible. NEC had to write the Spectraview app I use to calibrate my monitor, and IIRC it was months after OS 11 came out. Not good…I couldn’t go without my calibrated monitor for even a few days. 

So some takeaways from this. 

1. Software changes and or updates can cause changes to how your printer prints color, so only update when you have time to troubleshoot the problems it can cause. Expect problems and the need to revalidate your printing setup after updating system software or print drivers. In general, it is best to wait at least six months after a major system software update to upgrade to give time for the bugs to be worked out. Identify all mission critical software and ensure it works properly with the OS you are updating to. And it helps to have a way to be able to “roll back” to your old system software if the new version doesn’t work. 

2. Diagnosing problems is much easier if you have test prints that validate previous printer settings so you can compare your new setup to your previous approved setup. I find few people do this, but it’s a vital part of my workflow. And a reminder that I need to finish the curriculum for my color management workshop. 

3.It’s helpful to have two different computers you can print from to test if a problem is printer or computer related. This also helps during software updates because it gives you a way to continue printing from a known setup while troubleshooting issues. This helped save my bacon today. 

Had I not had a second computer to print from, I might have started more invasive fixes that still wouldn’t have worked because I’m working from a fault tree that is in my head. So maybe my next step is to create a printed fault tree to help me solve these problems instead of having to tease out the answer every time and risk missing a critical fault finding step.

New Workshop! Mastering Manual Exposure

How would you feel if every time you ordered at a restaurant, they only gave you half the portion you paid for?  Believe it or not, that’s what’s happening with most of your photos. That’s because if you are like most people, you are underexposing whether you realize it or not.

With as little as 1/2 stop of underexposure, you’re only capturing about 58% of your sensor’s full potential. And at one stop under, you’re only getting about 36% of its potential.  If I’m spending thousands on my camera and lenses, not to mention travel, I don’t want to get cheated out of half  (or more!) of my camera’s potential, and neither do you. And I can help. 

Ok, now that I’ve got your attention, let’s get into the details. Even small amounts of underexposure have a big impact on our photos. And despite all the technology built into our cameras, even if you are reading the histogram, they still don’t make a “perfect” exposure every the time.  Fortunately there is a better way.  I’ve come up with a process that will let you manually expose to within 1/3 stop of optimum in most situations, and I want to show you how to do it. With my process you’ll make better exposures, and do it with speed and confidence so you won’t miss  those “once-in-a-lifetime” pictures. 

I’ve spent the last three years digging into the issue of exposure obsessively, and I can honestly say what I’ve discovered has changed my photography like few things have in my 30+ years of making pictures. It’s knowledge I use every time I click the shutter.

Most importantly, I’m getting better results, and my photos have a quality or “glow” that better reflects what I saw and felt, the things that made me want to take a photo in the first place. But it’s also made photographing easier and quicker when I’m in the field. Instead of the uncertainty I used to experience, and the time consuming multi-frame bracketed exposures I used to make, I can quickly determine the exact exposure for optimum results AND take my photo knowing that I nailed the shot. Instead of walking away thinking “I hope I got it,” I know with confidence that I did. That certainty and confidence has made me more creative as I work a subject or location, and helped me make more “good” photos. 

But what surprised me most is how all this affected my processing. If I’m in “good” light that works with the latitude of my sensor, my processing is easier than every. I’m not fighting the photo just to get it to look the way I remember it. Instead I’m able to spend more time making the small, refined moves that bring out more of the photograph instead of trying to correct my errors.

But what about program exposure modes?The class is titled Mastering Manual Exposure, what about when I need to shoot in Aperture or Shutter Priority? The truth is that mastering manual exposure is the key to getting the most out of program modes, so mastering manual is the key to getting more out of those modes as well.

The good news is that it’s easier than you think. On workshop after workshop, students have been surprised by how simple my process is, and how it frees them to think more creatively and achieve better results. 

This class is for photographers of any skill level who want a tested-and-proven approach. We’ll cover a lot of ground, and you’ll gain real world, tested, practical knowledge that will grow your skill set. 

This four lessons class will meet at 7:00 PM Central Time, on January 10th, 17th, 24th, and 31st. Recordings will be available for four weeks after each class. So if you miss a class, need to time shift, or want to watch it again, you can. 

This is knowledge you will use every time you click the shutter! If you are ready to transform your photograpy, then this is the workshop for you!

Sign up today, and get ready to change the way you photograph!

Keep chasing the light!

– Rich Seiling