Which Brand Hard Drive Should I Buy?

Here’s another question I get a-lot. Some people hear they should buy Seagate drives because the competitors are junk. Others think they should buy Western Digital drives, because, you know, the other companies are junk and their brother’s cousin’s friend had one die on them and lost all their baby pictures, and their other friend works in IT and said so.

So what’s my answer? What should you buy?

Why not BOTH?!

That may seem too easy, but it’s the truth. Now you may be thinking there are more than two drive manufacturers out there, and you are correct. But only Seagate and Western Digital offer consumer-priced external drives.

I don’t see any real benefit to buying external drives in more expensive housings, as the aesthetics of an aluminum enclosure just don’t matter to me, and my experience says I don’t need the extra cooling they offer. Run of the mill external drives will do the job just as well, so for most photographers, Seagate and Western Digital are our two choices.

Drive Failure Rates

Current Seagate and Western Digital drives have similar failure rates based on the data from Backblaze. Most sizes and models of 8TB and larger have annual failure rates of 1% or less. That means if you had one hundred drives, about one of them would fail every year over the normal 4-5 year life of a drive. A difference of a percent or two either way are not going to be meaningful for you. Rough handling, dropping, and transport I suspect will have more effect on that rate than drive manufacturer. So put the brand issue aside. They are both “good enough.”

Most photographers problem isn’t a half percent difference in failure rates, it’s that they aren’t running a proper backup. And some only have one copy of their data. With a proper backup, even a couple percent difference in failure rate isn’t going to be a big issue for you.

Redundancy

In my backup plan, I like to alternate between brands for a little extra insurance. Every once in a while, a brand will have issues with a particular model. Don’t put your eggs all in one basket. It’s a safer approach to have your photos on both brands and on different models of those brands. (Hard drive models change all the time, so unless you bought all your drives at the same time, you’ll have enough redundancy of different models.)

Beware Bare Drives

I used to use a lot of bare drives for backup at West Coast Imaging because we had a never ending supply of them from server upgrades. Bare drives are fragile, and need to be stored and handled with care, and I customized a Pelican Case just to transport them safely. You’re not supposed to stack them, and even small shocks can damage them. It’s so much easier to just buy an external drive that is always in a case that offers a little more protection from shocks and other hazards.

RAID

RAID has a place, but few single user/single workstation still photographers need them, and they are a hassle unless you are a “computer person.” With the advent of 10TB drives and larger, the need to use a RAID to create a larger volume from several smaller volumes is gone for most users. 16TB consumer externals are shipping now, and 18-20TB are available in more expensive external lines. Roadmaps say we’ll have 30TB drives sometime in 2024. And RAIDs have their own issues. If you are on one, you should assess if you need to be and look at transitioning.

Closing Thoughts

We’ve reached a point where hard drives are reliable enough that we don’t have to worry about what brand is best. What most photographers need to solve is the issue of creating a good backup plan, with lots of drives, and maintaining that backup. Buying inexpensive external drives is ok. Being cheap and not buying enough of them for backup isn’t.
Buy a New Hard Drive Every Year

The folks at Backblaze have a really good blog post on hard drive life titled “How Long Do Disk Drives Last?” that is worth a read.

I’ll give you the TL;DR, it’s about four to six years according to their data.

Backblaze is the most reliable source for drive life data as they have been releasing drive life stats for their cloud backup system for over a decade, and given us the best real world look at how long drives last.

Their experience mirrors mine, albeit on a much smaller scale. In the West Coast Imaging days, I designed and maintained our storage system of forty drives to store all our client’s files and make them accessible to the staff. I’ve tracked over 100 drives through that system and in my own personal use, and I see something pretty close to what Backblaze is seeing.

While drives can die at any time, even new drives, it’s more typical to see a drive last 3-5 years in a home or office setting. After that, the failure rate starts to go up fast, as I’m experiencing right now with my backup consolidation project.

The Backblaze data combined with my own experience is leading me to a new storage approach. I plan to replace my main data drive after 365 days of use. At that point, it will be depreciated to use for onsite backup.

Basically I’m turning it into an oil change which just makes more sense, and will help me avoid headaches. It will make it easier to keep up to date than the “replace when something fills up or fails” plan I had been using.

My backup plan looks something like this:

Main Data Drive
Onsite Backup A
Onsite Backup B
Offsite Backup A
Offsite Backup B

I have five hard drive based copies of my data plus a copy in the cloud with Backblaze, which is an insurance layer every photographer should have in place.

As drives age, I’ll move them down the list of backups, so that their age will look like this:

Main Data Drive – less than 1 year old
Onsite Backup A – less than 2 years old
Onsite Backup B – less than 3 years old
Offsite Backup A – less than 4 years old
Offsite Backup B – less than 5 years old

And with this many copies and ages, I am well protected agains data loss IF I keep the backups up to date.

So buying a new drive every year will be my new strategy. (And don’t forget to mark your drives with the month and year of purchase to make it easy to know their age.)

Now where is that credit card…

Photoshop Upgrade Issues – Adobe Camera Raw

If you’ve upgraded to Photoshop 2022, make sure Adobe didn’t wack your Adobe Camera Raw preferences or you could be wasting hours of work.

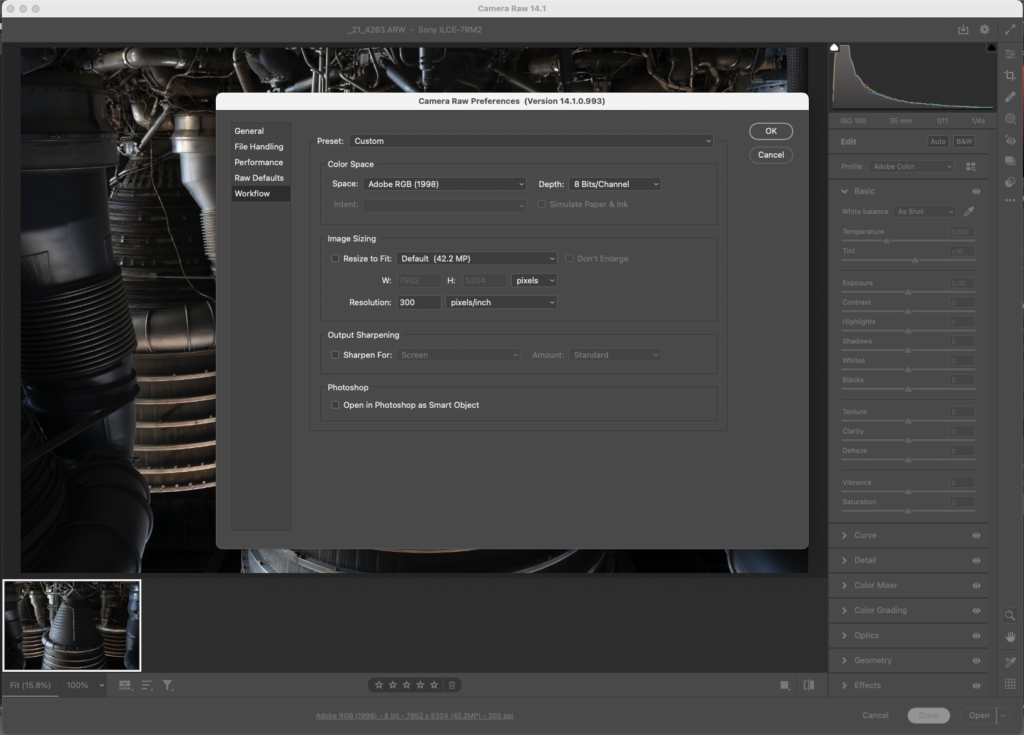
Adobe is allowing a critical problem to occur when you upgrade Photoshop by defaulting the Adobe Camera Raw settings from the user’s custom settings to their default “Adobe RGB” in 8-bit.

This is one of those things that is very easy to overlook and can lead to hours of lost work if not corrected immediately.

Here’s what my recent install of Photoshop 2022 did to my Adobe Camera RAW settings:

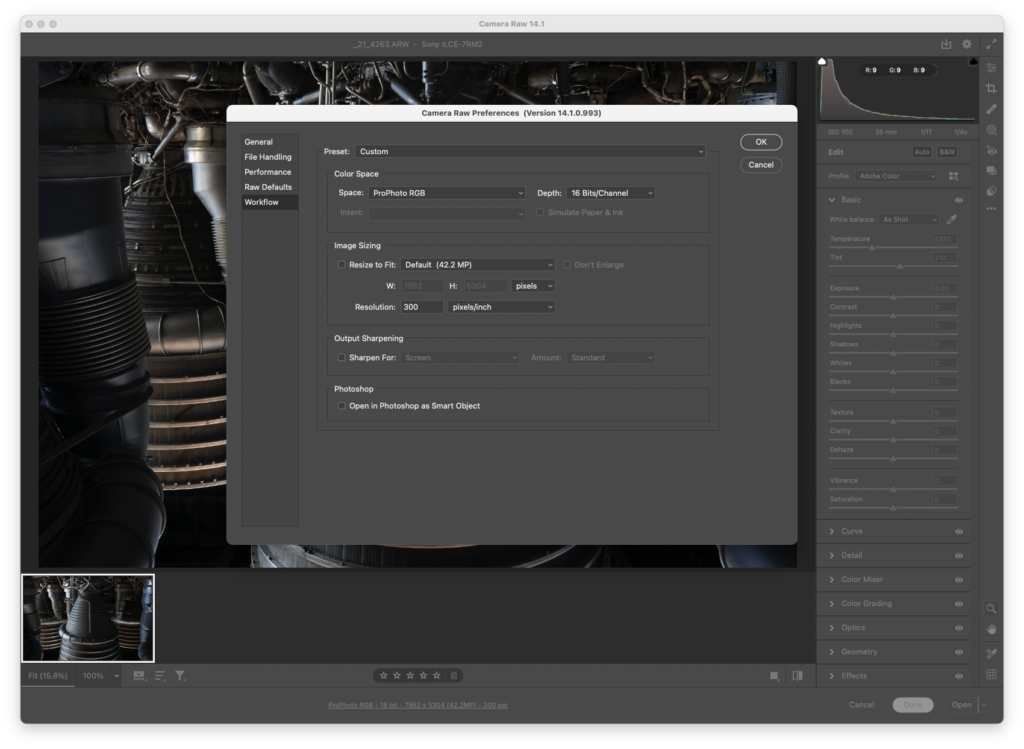
Yuck! Adobe RGB in 8-bit is the last settings I’d want to use. What it should have done is import my settings from Photoshop 2021 to what’s shown below:

ProPhoto and 16bits/channel is my recommended setting to get the most out of your RAW files. It’s the default for experienced users, and should be Adobe’s default too.

AdobeRGB was a bad choice in 1998 and it is a bad choice now. In the embryonic days of color management when we were all figuring it out, I did a lot of work in SMPTE 240, a very similar space to AdobeRGB. That is until I learned it’s problems and found better colorspaces. Adobe should keep up with the times and ditch the vanity nameplate colorspace.

One of the hassles of updating mission critical software is making sure all your preferences and presets are configured correctly. It’s why I find upgrades painful even if they offer new features as they create downtime. I get joy from working up new photos, not solving software issues. So these things really frustrate me.

Classic Black and White Digital Processing Class

Are you ready to start processing your black and white photographs like a master?

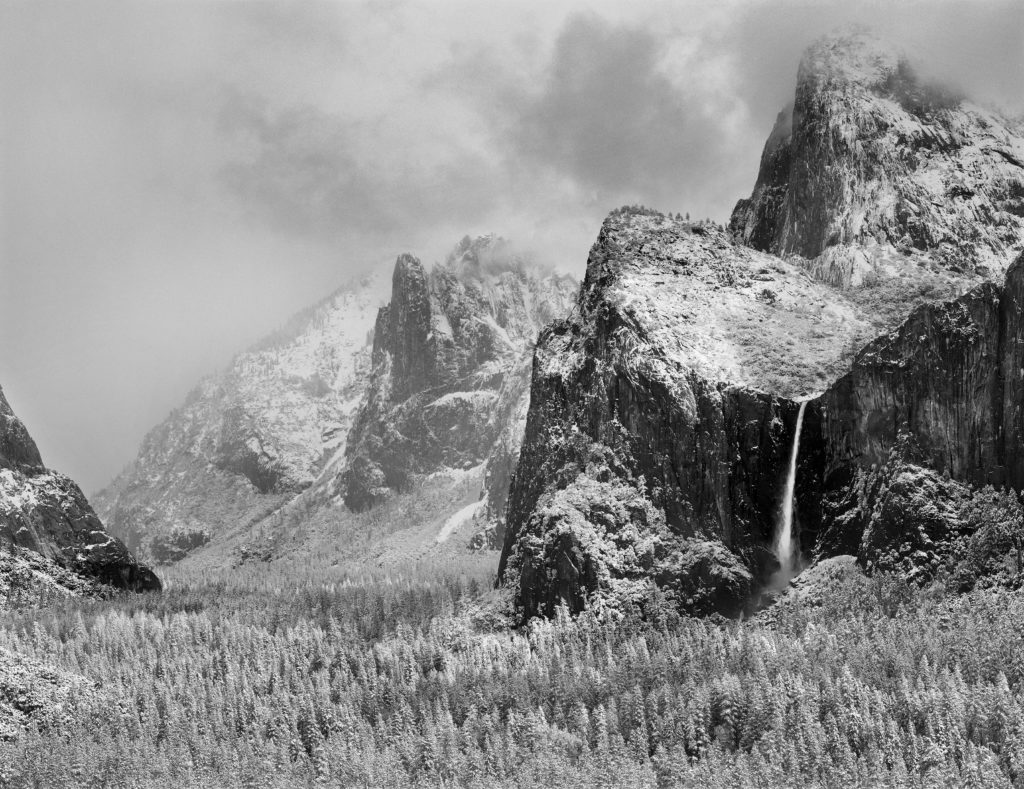
In the last year, I’ve helped hundreds of photographers improve their B&W processing through my talks and workshops, and I’d like to help you, too. Wednesday, January 12, I’ll be starting another round of my popular four-session Zoom class, Classic Black and White Digital Processing.

My talk at the B&H Photo Event Space provides a great (and free!) introduction to the workshop. It touches on many of the subjects this class will explore in greater depth. 

Every time I teach this class, it’s rewarding to see how the participants improve their photography and processing skills each week. Here’s what my students have to say about the class:

I have found the class to be outstanding, not only for learning techniques that are new to me in creating a B&W image, but also the creative ideas to draw the viewer into the scene.
– Brad K.


I want to thank you for your classes and all the extra effort you’re devoting to your students. The information is worth far more than than the price of admission.
– Al H.


This class has introduced me to new tools for vastly improving my images.
– Dennis W.

We’ll meet for four online sessions, each Tuesday through February 2. Each session lasts two hours. The first hour is live instruction, where I teach the techniques I use. During the second hour, I show how I apply those techniques to YOUR photographs, providing insight and critique that will help you learn and grow. 

Each session will be available to re-watch online for two weeks after the class, allowing you to go over the content again, or watch at a different time if you have a schedule conflict. 

Sign up today, then keep chasing the light!

FREE File Evaluation! – Limited Time!

As a sneak peek into my upcoming Mastering Manual Exposure Workshop, I’m offering a free file evaluation to my readers. Send me three of your favorite files by January 5, and I’ll tell you how well they are exposed.

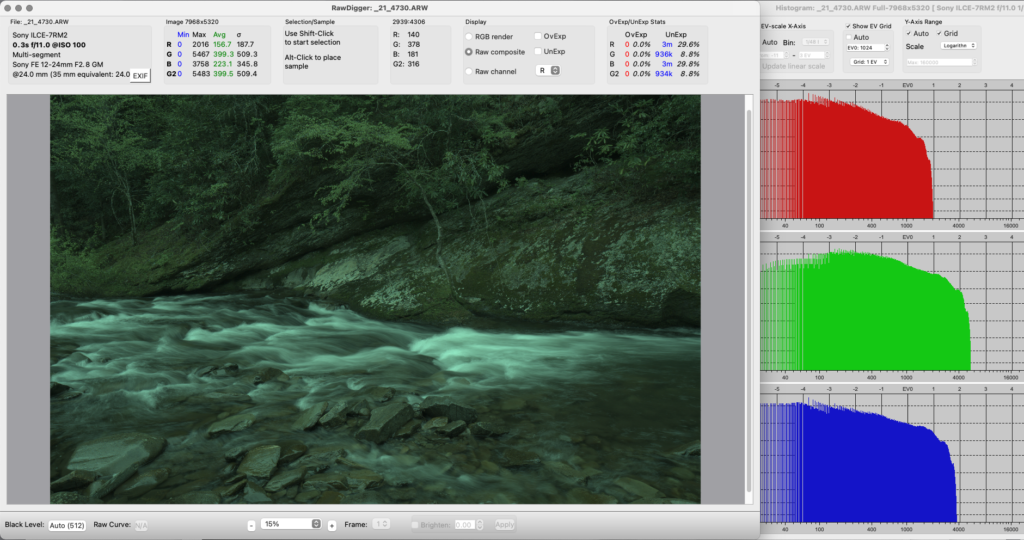
You’d feel cheated if you opened a bottle of fine wine and found it was only half full, right? Well the same type of thing may be happening to your photos. You might be cheating yourself out on detail that would make your processing easier and your photos look better. 

Evaluating your RAW files gives you important feedback on how you can improve your photographs. It’s so important that it is my first step in processing, and part of the processing workflow I teach. As a part of this free offer, I’ll tell you how well you’ve achieved the goal of exposing to the right. This is important because even small differences in exposure can make a big impact.

You might be thinking, “Oh boy! If I send my files, Rich is going to tell me how I messed up!” I think you know me better than that by now. The goal is to see what you’re doing well, and to be aware of areas where there is room to grow. Afterall, the better we equip ourselves with tools and knowledge, the easier it is to achieve our goals. Even experienced photographers can benefit from this offer–afterall, it’s free, so you have nothing to lose, and information to gain!

Send me three files today, and I’ll help you learn and grow!

Here’s what you need to do:

1. Pick three of your favorite photos, and find the RAW files for them. (My evaluation software only works with RAW, sorry no DNG or JPEG.) Lightroom users, use “export RAW” or “show in finder” to access your RAW camera originals.

2. Use wetransfer.com to send the files to rich@richseiling.com

3. This is a LIMITED TIME OFFER! Be sure to send your files by Wednesday, January 5.

Once I receive your files, I’ll evaluate them using the same process that I’ll teach on my upcoming Mastering Manual Exposure Workshop. Then, I’ll give you a report that tells how well you exposed your images, and how much of your camera’s potential you are using for each exposure.

One more thing: While photography instruction is not covered under HIPAA, I promise your results will be completely confidential!