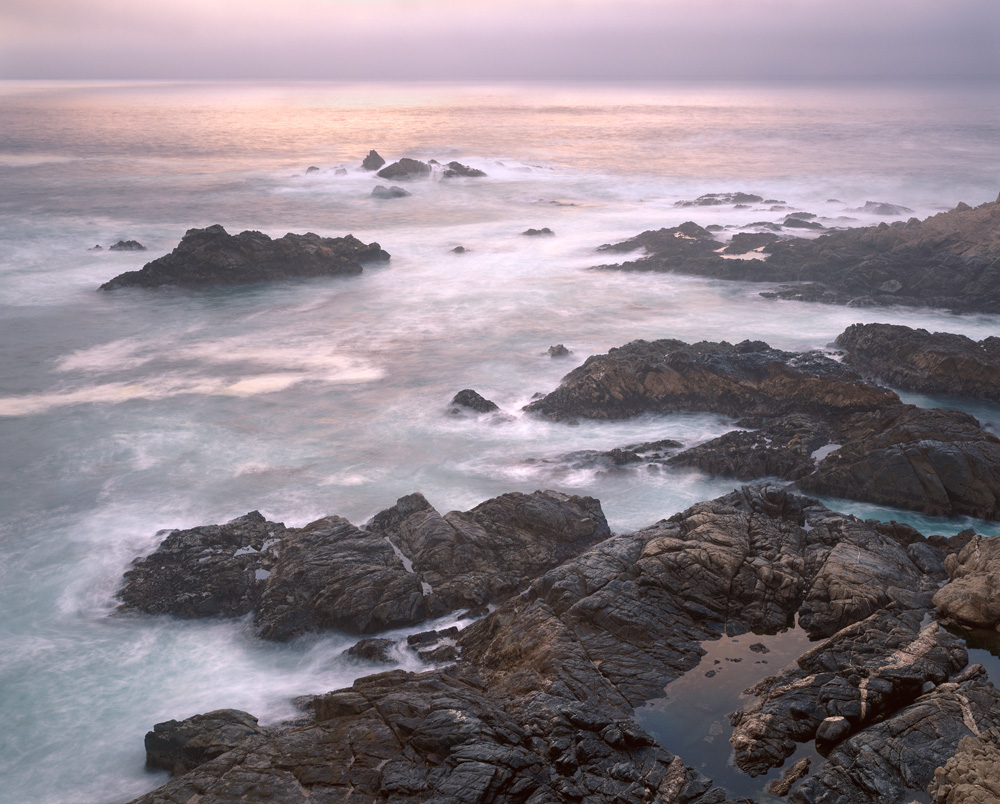
A lot of people ask me why I use Photoshop instead of Lightroom, so I made this video to try and answer that. This image is a great example because of it’s extensive use of masking and individual adjustments for each layer. Photoshop’s masks let me take control of any area with great precision and make it very easy to modify my masks should I change my mind. Being able to use a different curve with each mask lets me carefully control contrast. And it’s very easy to make layers and masks work together and not against each other. Once you learn how to do this, it’s a quick, easy, and fluid process. I find that important because the ease helps me express my creativity with less effort which makes it easier to be more creative. Do you know how to make changes like this in your photo software of choice? Tell me what you think!
I’ll often do some adjustments in both LR and PS. While I can’t give up PS, the big issue with it for me, is that adding all the masks & layers blows up the file size making it an incredible pain to deal with, especially since LR doesn’t handle PSB files well.
There is a way to keep the file size small in Photoshop..I need to make a video about it. I actually have a video but it’s in SD from about ten years ago and it looks horrible next to what a HD video looks like today.
Cool please do. Very curious as to how you are keeping file sizes small (I routinely go over the 4GB limit). The only things I’ve thought about are grouping my layers (to remove redundant masks), compression, and possibly using blend-if instead of a luminosity mask.