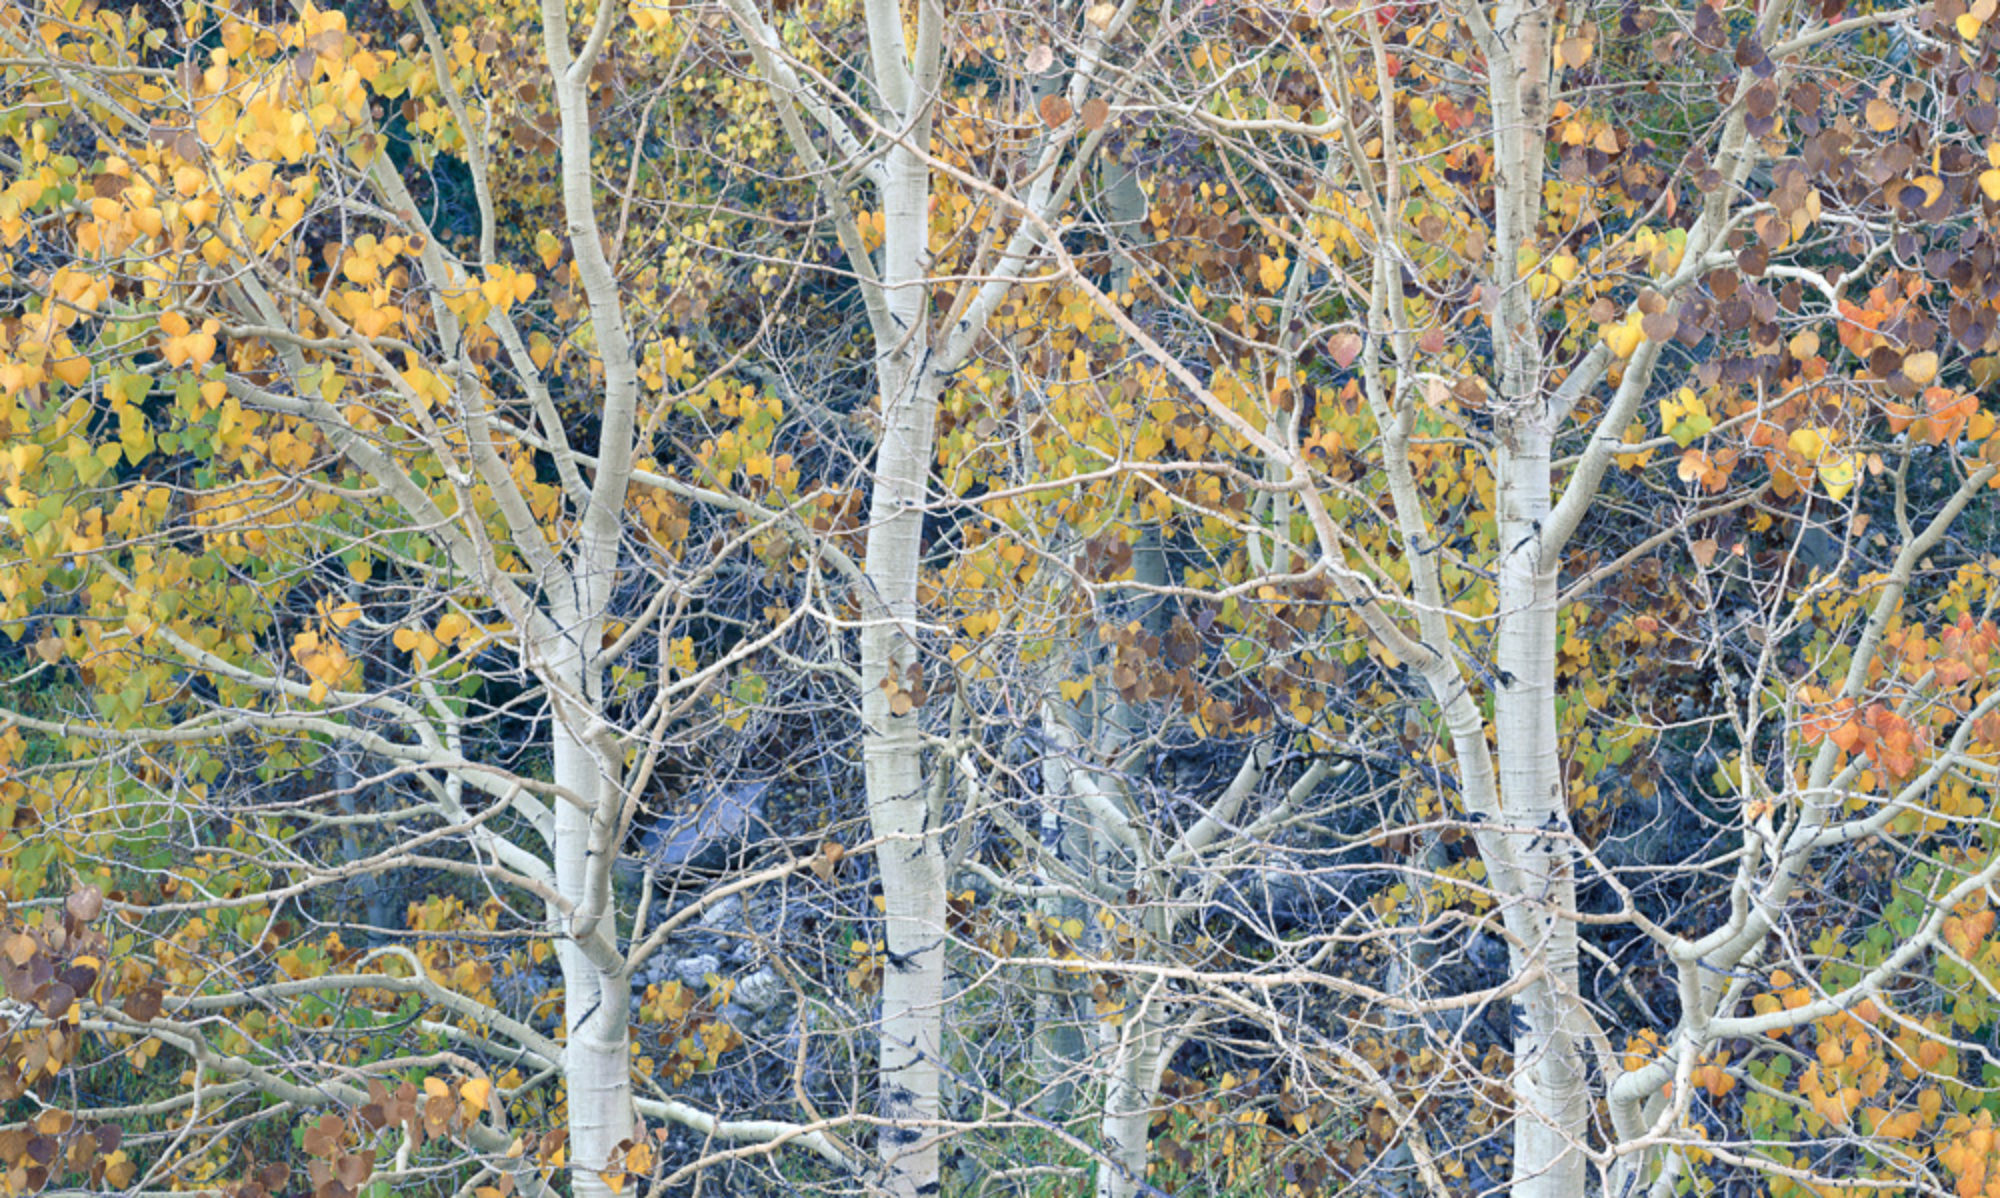
What’s the best DPI to print at? Breaking the rules led me to a discovery that can give you the best digital prints I’ve ever seen. Printing at resolutions higher than 300 dpi lead to a significant quality gain with the Canon PRO series printers. I lay it all out in this video.
Targeted File Outline of Steps
Prints are only a good as the file that made them, so the more we refine our files, the better our prints will become.
One of the ways to do this is to start making Target Files. Targeted Files are copies of the Master File that have been prepared for output or display on a specific device at a specific size.
I make a targeted file every time I make a print or post a file online.
My checklist for targeting goes like this:
1. Copy the Master File
2. Flatten all layers (Photoshop)
3. Size to height, width, and dpi as needed for the output / display device
4. Sharpen to taste
5. Dustbust at 100% magnification
6. Add border as necessary
7. Trim marks as necessary
8. Remove any alpha channels (Photoshop)
9. Save as copy with size in name. Use TIFF format when possible.
Once complete, the targeted file is the one that is printed, sent to the lab, or uploaded to the web.
Each one of these steps gives you an opportunity to take control of a parameter that can improve the final print.
Every software handles these steps a little differently, but it should be possible to follow this workflow with any well made imaging program.
It’s important to do these in order because weird things can happen if you don’t. For example, if you sharpen the image after adding borders, you’ll probably get a faint halo around the image instead of a nice clean line. They are in order for a reason that will become apparent as you learn the targeting process.
Printer Calibration for In-Tune Prints – March 14
I’ll be teaching a Mini-Clinic for Brentwood Photo Groupmembers on March 14. This clinic is a members only even and free to BPG members.
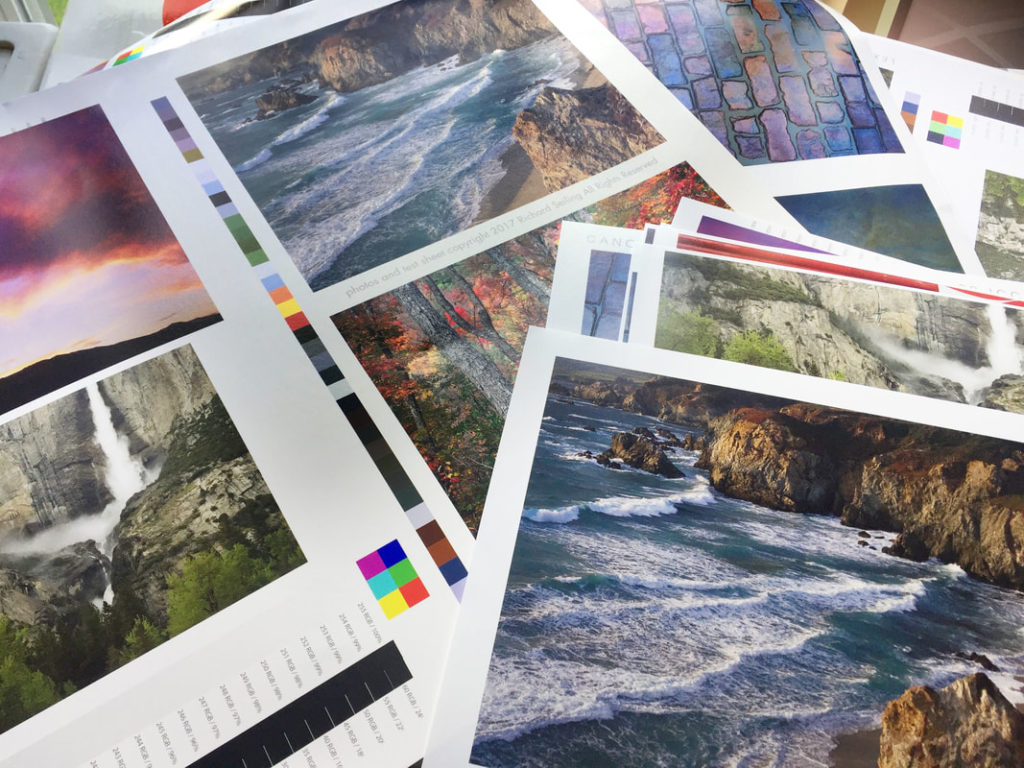
Musicians expect that middle C will sound the same on any piano in the world. Photographer should have a similar expectation of a properly tuned instrument when they make prints. This is achieved through color management. I’ll talk about what color management is, and how to use it properly. A key part of this clinic will be looking at prints to see what is correct calibration, and learning to see what is in-tune and out-of-tune. We’ll look at how to evaluate canned profiles as well as prints from labs. I’ll have samples of “in-tune” prints, and will encourage participants to print my test file to bring and evaluate their printer or lab. Participants will leave with a new understanding of the level of accuracy and repeatability possible with color management that will make their prints “sound” their best.
Check out my Blog Post Will your prints match the next time you print them?
for a peek at some of what we’ll be covering.
Using Multiple Curve Adjustment Layers with Masks in Photoshop
A lot of people ask me why I use Photoshop instead of Lightroom, so I made this video to try and answer that. This image is a great example because of it’s extensive use of masking and individual adjustments for each layer. Photoshop’s masks let me take control of any area with great precision and make it very easy to modify my masks should I change my mind. Being able to use a different curve with each mask lets me carefully control contrast. And it’s very easy to make layers and masks work together and not against each other. Once you learn how to do this, it’s a quick, easy, and fluid process. I find that important because the ease helps me express my creativity with less effort which makes it easier to be more creative. Do you know how to make changes like this in your photo software of choice? Tell me what you think!
Why You Should Make Prints
Are you making prints on a regular basis? Why? Or why not?
I think printing should be a regular part of your photography. Nothing will test your photographs more, stretch your abilities, and force you to learn new photography skills, than the process of making prints.
I’ll go so far to say that, if you can consistently produce fine quality prints from your photographs, you will have successfully mastered key components of the craft of photography, and you will be equipped to explore even greater depths of the art.
First, you have to understand that prints are the ultimate expression of a photograph.
Stop thinking that what your monitor or device shows you is what your photo really looks like. The screen is not even close to the accuracy of a print.
Professional printing devices are capable of producing a much wider range of colors (color gamut) than a screen can. They are capable of higher resolution, greater detail, more delicate highlights, and delicate shades of gray in black & white. It’s the difference between a flawless live performance of your favorite music, versus a YouTube video of it from a crummy phone.
Because of this, the print is unforgiving. It will show every flaw and every error in judgement, exposure, focusing, color balance and processing. It’s not a 1500 pixel square on your phone; it’s the real thing, raw, fully laid bare for all to see. And that’s why it’s so powerful. It will test you, measure you, raise your expectations, challenge you, sharpen you, and make you a better photographer.
Don’t do it alone. You need someone who has already mastered the skill to guide and critique your progress; to tell you it’s too contrasty, your highlights are blown out, or you didn’t focus properly. This is an integral part of formal photography training that is lost if YouTube is your only teacher.
Take a class at a local college, go on workshops, and share your work at local photo clubs. Seek out people who make prints you admire, and beg, borrow, or buy time with them to be mentored. Some of the best photographers in the world are easily accessible through workshops. Take advantage of that.
Then find museums and galleries close to you, get on their mailing lists, and go look at prints regularly. Seek it out when you travel. Develop a mental impression of what you think a great print should be. See how artists handle shadows and highlights, color, focus, and paper choice to make their expression.
Lastly, make prints regularly. You’re going to learn more working on a fifty prints in a year than you will just ten. Don’t get caught up in what’s “print worthy” or not. If you think there is something there, print it and start working the process. Hang them on the wall, live with them, and see if they stand the test of time or need to be reworked, or abandoned. Start with 8×10 prints then work your favorites up to larger sizes. Fill your walls, and your friends! Give them as gifts, and let others enjoy them.
Making prints is the fast-track to improving your photography and refining your craft, making you into an even better photographer than you already are.