
A quick post on sharpening drawn from advice I gave a print client today. Sharpening is one of the the places I see photographers have the least confidence in.
The challenge is every image is different and requires different settings. Getting the “correct” settings requires developing an understanding of what you see on screen and what that produces on print. It’s possible to make something that looks too sharp on screen, but looks perfect on the print because a typical screen displays the image at about 93 pixels per inch, but the print can be of much higher resolution, so what you see on screen is in essence “magnified”.
A couple quick tips:
- Always view the image at 100% magnification, or actual pixels. This will make sure that one pixel in your image equals one pixel in your screen. When you view your file at some other magnification, what you see on screen is some average of the pixels and can disguise the effects.
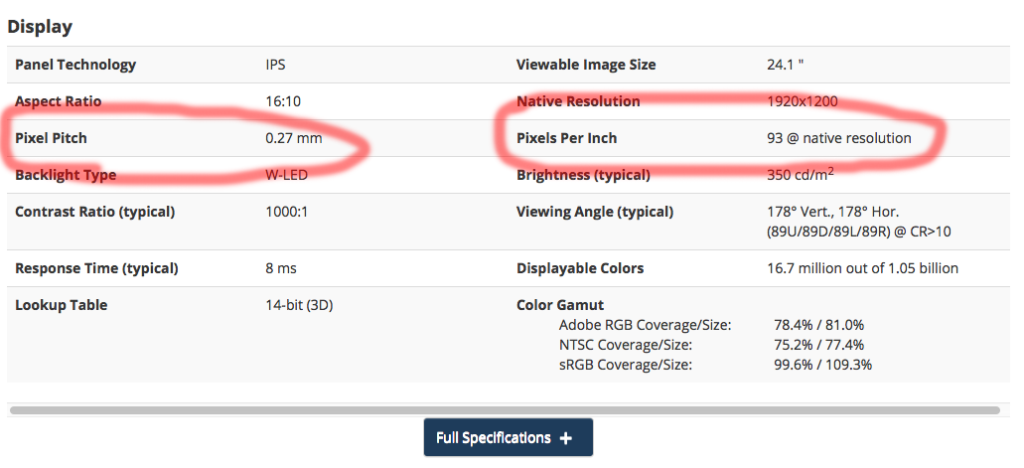
2. Don’t use a 4x or 5k monitor like those found on newer iMacs. You need a monitor with a pixel resolution of ~72-110 pixels per inch, or a pixel pitch of around .23-.27mm. In contrast a 4K 24” display has a pixel pitch of ~0.13725mm and resolution of ~180 pixels per inch, which makes the pixels too small to evaluate sharpening easily.
3. Smart Sharpen is not a magic fix. There are many flavors of sharpening. Sharpening is an ingredient, and how, and where you apply it is all preference.
Looking forward to turing this into a expanded tutorial at some point. Until then, experiment!